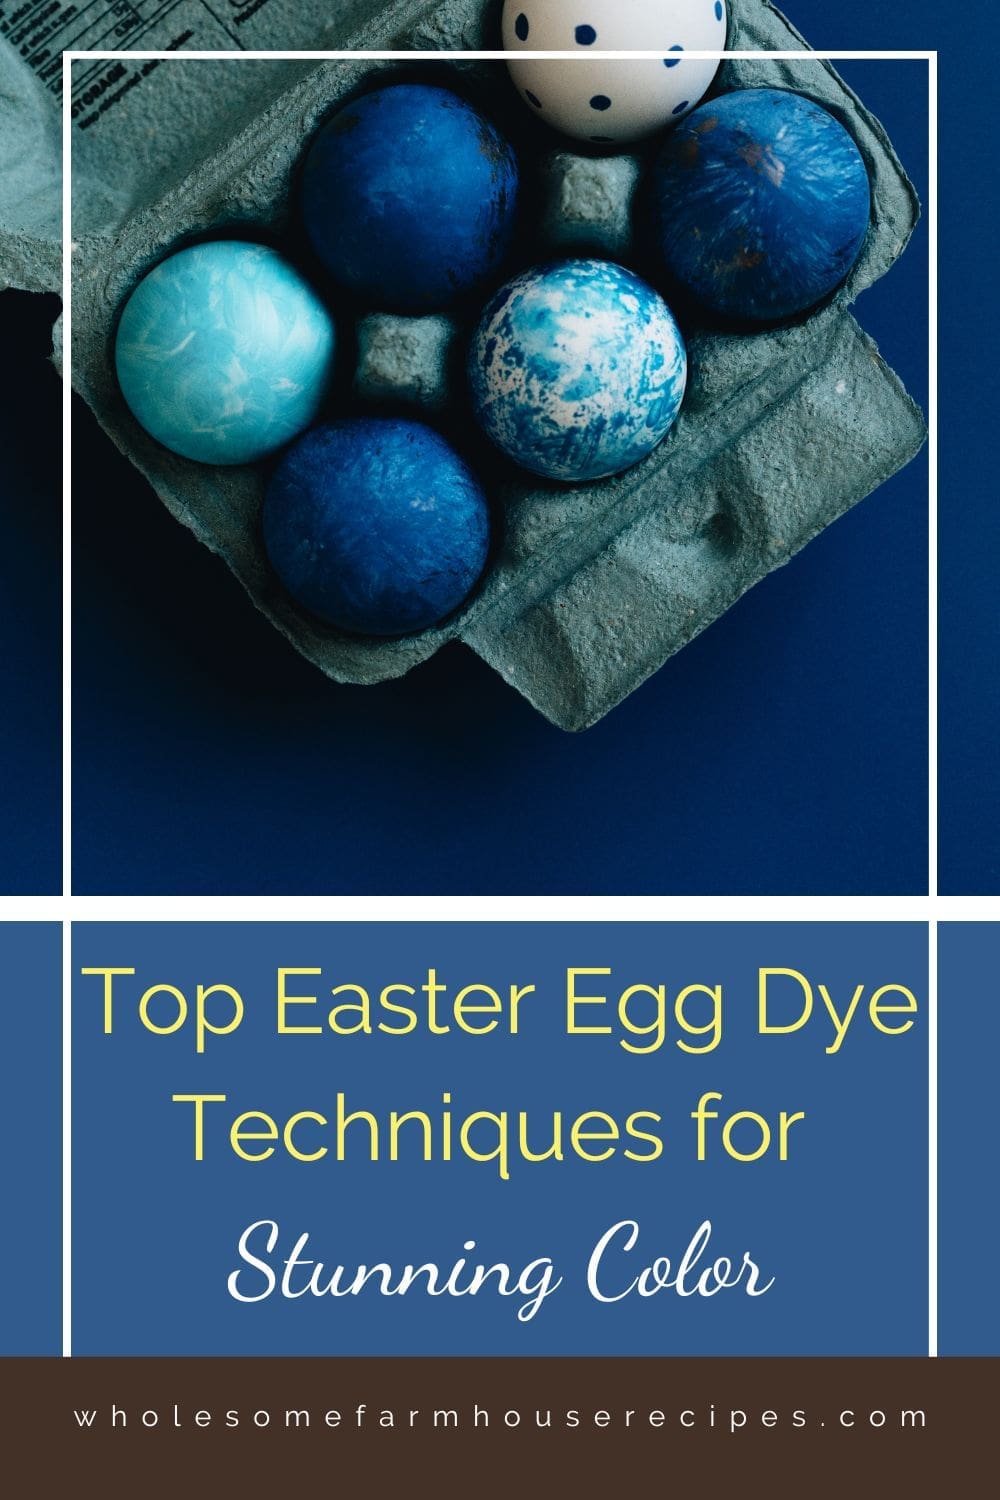
Get our top tips for Easter Egg Dye Techniques for Stunning Color. There’s just something magical about gathering around the table with your family, craft supplies in hand, and dyeing a lot of eggs for an Easter celebration. Whether you’re using hard-boiled eggs, raw eggs, or even wooden eggs, it’s a tradition that brings out creativity, laughter, and plenty of colorful fingers!
After reading The Kitchn’s rankings of Easter egg dye methods, we decided to dive in ourselves and share not just which techniques work best — but exactly how to dye Easter eggs using each one. Whether you’re using natural ingredients like onion skins or good old food dye, these easy steps will help you create stunning eggs for your Easter baskets and Easter egg hunts.
5 Quick Tips for Perfect Easter Egg Dyeing
Want flawless results every time? Keep these easy tips in mind:
- Hard boil your eggs carefully
Simmer gently so shells don’t crack! Hard-cooked eggs with no cracks dye much more evenly. - Use room temperature eggs
Cold eggs straight from the fridge can cause uneven coloring. Let them sit out about 30 minutes before dyeing. - Prep your workspace
Cover your work area with paper towels and have small bowls of cold water ready for quick rinsing. - Add vinegar or lemon juice
A splash of vinegar, lime juice, or lemon juice in your dye bath helps set the color more vibrantly. - Dry eggs carefully
Instead of rubbing, gently place dyed eggs on a drying rack or over paper towels to avoid smudges.
How to Make a Basic Food Coloring Dye Bath
- ½ cup warm water
- 1 teaspoon vinegar (white vinegar or lemon juice)
- 5–10 drops of food coloring (adjust depending on how bold you want the color)
Directions:
In a small bowl or cup, stir the vinegar into the warm water. Add the food coloring and mix well. Then gently place your hard-boiled egg into the dye bath and let it sit for 5–10 minutes, depending on how deep you want the color.
The Best Ways to Dye Easter Eggs
Before you start, always make sure your eggs — whether white eggs or brown eggs — are at room temperature for the best dye results. You’ll also want a work area covered in paper towels to keep things tidy. Now, let’s get coloring!
Quick Supplies Checklist:
- Hard-boiled eggs or wooden eggs
- Food dye or natural ingredients
- Paper towels and plastic wrap
- Cups of water (warm or cold)
- Teaspoon of vinegar, lime juice, or lemon juice
- Craft supplies like wax crayons, temporary tattoos, and colorful tissue paper
Food Coloring and Vinegar Dye Bath
It’s fast, easy, and super vibrant.
How to do it:
- In a cup or bowl, mix 1 cup of warm water, 10-20 drops of food coloring, and 1 teaspoon of vinegar.
- Gently place eggs into the dye bath with a spoon.
- Let them sit for 5-10 minutes, depending on how bold you want the color.
- Remove and place eggs on paper towels to dry.
Tips:
- Use gel food coloring for even richer colors.
- White eggs work best for bright shades, but brown eggs can create beautiful earthy tones too!
Cool Whip Swirl Technique
Creates gorgeous, marbled eggs without much mess.
How to do it:
- Spread Cool Whip in a baking dish.
- Drop different food coloring colors across the surface.
- Swirl gently with a toothpick to create a tie-dye effect.
- Roll hard-cooked eggs through the swirls.
- Let them sit for 5-10 minutes, then rinse gently with cold water.
Tips:
- Use plastic eggs for a no-cook option if you like.
- Great method for younger kids!
Salt Crystals Method
This method creates bright colors with a unique, textured look.
How to do it:
- Fill a bowl with coarse salt and add a few drops of food coloring.
- Shake or stir until color is distributed.
- Place damp hard-boiled eggs into the salt and roll them around.
- Let them dry on paper towels.
Tips:
- You can use plastic wrap under the salt to make cleanup even easier.
- Mixing different colors of salt creates stunning effects.
Other Fun Easter Egg Dye Techniques to Try
If you want to explore natural dyes or other creative methods, here are even more ideas!
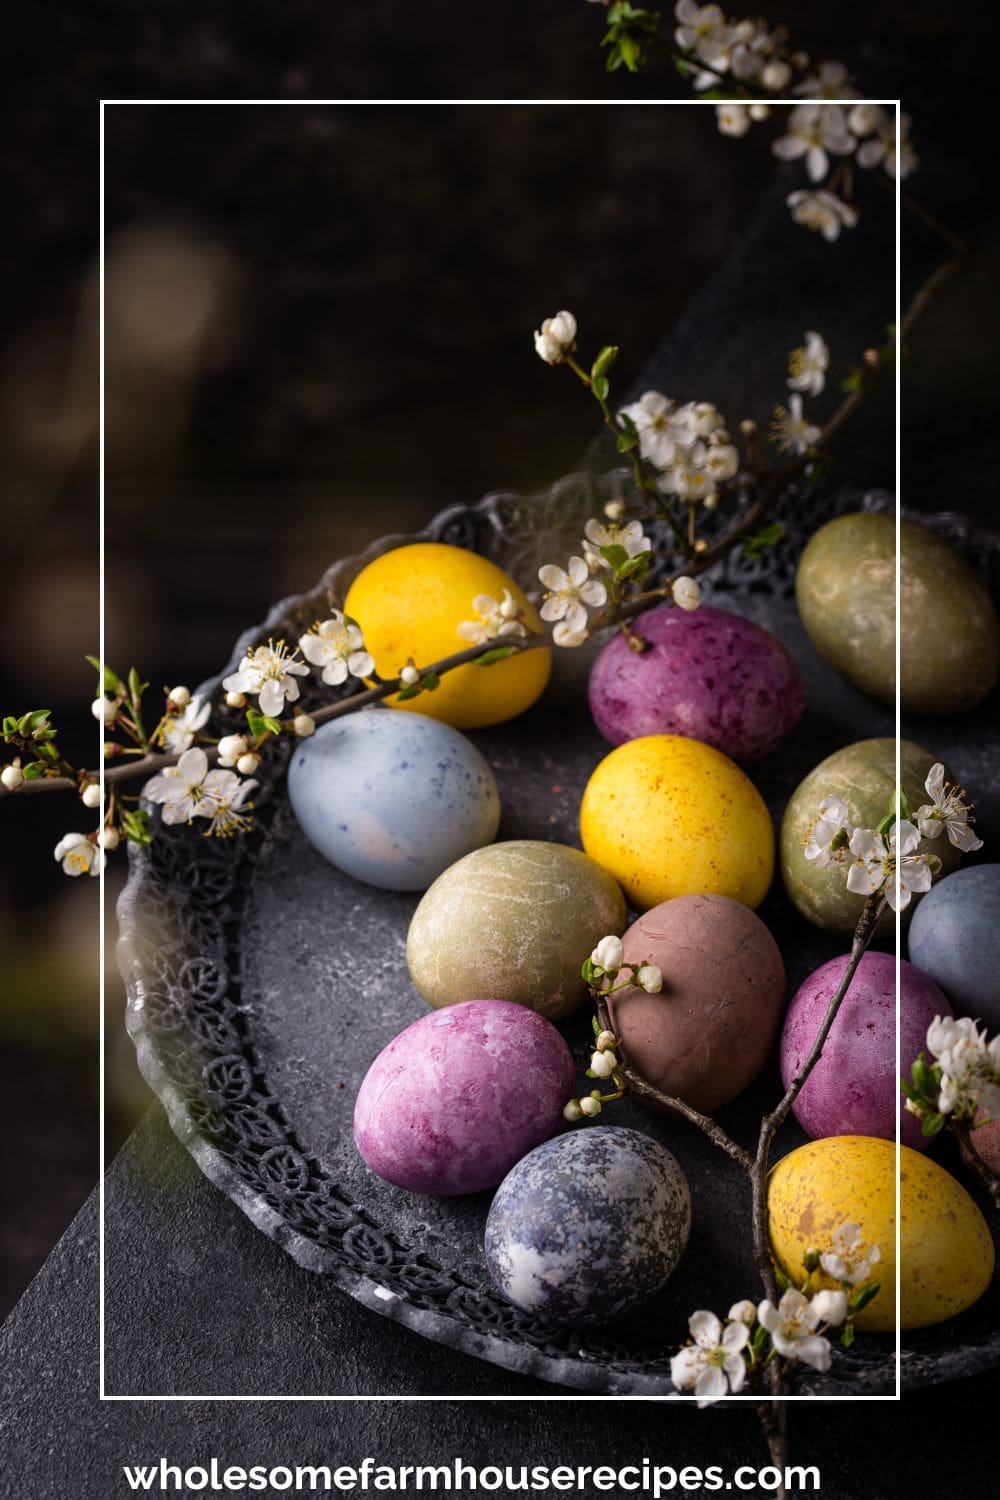
Onion Skin Natural Dye
Create beautiful, natural earthy tones using natural ingredients.
How to do it:
- Boil onion skins in hot water for 15-20 minutes.
- Add room temperature eggs to the dye bath and simmer until they reach the desired color.
- Cool and dry on paper towels.
Tips:
- Add a little vinegar or lemon juice to help the dye stick better.
- Red and yellow onion skins give slightly different colors!
Rice Shake Method
It’s fun and easy to make speckled eggs that kids love.
How to do it:
- Add dry rice and food dye to a zip-top bag or plastic container.
- Place an egg inside, seal it, and shake gently.
- Remove and let dry on paper towels.
Tips:
- Try using colorful tissue paper inside the bag for extra flair!
- Plastic bags make for an easy, contained mess.
Baking Soda Resist Painting
Create artistic designs before dyeing!
How to do it:
- Mix baking soda with a little water to create a paste.
- Paint designs onto your regular egg using a brush or cotton swab.
- Let dry, then dye the eggs using a food coloring bath.
Tips:
- Peel off or gently wipe the baking soda after dyeing for cool “resist” designs.
Vegetable Oil Marbling
This method is elegant. It creates marbled eggs that look professionally made.
How to do it:
- Prepare a basic cup of water dye bath with food dye and vinegar.
- Add a tablespoon of vegetable oil and swirl.
- Gently roll your hard-boiled egg through the mixture.
Tips:
- Don’t overmix or your marble effect will disappear.
- Try using lime juice or lemon juice instead of vinegar for a different twist.
Other Fun Easter Egg Dye Techniques to Try
Want even more creative ways to dye Easter eggs? These bonus methods add extra fun to your Easter tradition, and they’re all simple enough for the whole family to try!
Shaving Cream Swirls
This is a very fun and foamy way to add marbling colors to your eggs.
How to do it:
- Spread shaving cream in a baking dish.
- Dot with different food dye colors.
- Swirl slightly with a toothpick.
- Roll hard-cooked eggs through the shaving cream.
- Let them sit for 5–10 minutes, then rinse with cold water.
Note: Shaving cream is not edible, so use wooden eggs or display-only eggs if you’re concerned about food safety.
Temporary Tattoo Eggs
This is an easy way to add beautiful designs without any mess.
How to do it:
- After dyeing and drying your eggs, apply temporary tattoos according to package instructions.
- Gently peel the backing away to reveal a beautiful design!
Tip: Works best on white eggs or lightly dyed eggs for the tattoo to show clearly.
Colorful Tissue Paper Transfer
It creates bright andunexpected color patterns using simple craft supplies.
How to do it:
- Cut colorful tissue paper into small squares.
- Dampen the egg with a little warm water.
- Press tissue pieces onto the egg.
- Let dry completely, then peel off the paper to reveal the colors!
Tip: Make sure you’re using tissue paper that bleeds color.
What’s the best type of egg to use for dyeing?
White eggs are perfect for bright, vivid colors. Brown eggs give gorgeous muted, rustic shades. You can also use wooden eggs for crafts you want to keep forever!
Can I dye raw eggs instead of hard-boiled?
Yes — but be careful! Raw eggs are much more fragile. Hard-boiled eggs or plastic eggs are usually a safer option for kids.
How long do hard-boiled dyed eggs last?
Stored in an airtight container in the fridge, they’ll keep for about a week. Be sure to eat them by then if you plan to!
Can I use natural ingredients to dye eggs?
Absolutely! Try boiling onion skins, using red cabbage, beets, or even spices like turmeric for a natural dye.
What if I don’t have a store-bought kit?
No worries — a little food coloring, vinegar, and cups of water are all you need. Homemade dyes work beautifully and cost very little.
Make Easter Egg Dyeing a Family Tradition
No matter which technique you choose, Easter egg dyeing is about good times with the whole family. From using natural dyes like onion skins to swirling eggs in shaving cream (another fun method!), you can find the perfect approach for your family’s style.
Whether you embrace artificial colors with drops of food coloring or stick with natural ingredients, these easy steps will help you make beautiful eggs that sparkle in your Easter baskets.
Don’t forget to have fun, experiment, and maybe even try adding temporary tattoos, gold leaf, or even painting with wax crayons for extra flair!
Wishing you a colorful, joyful, and memory-filled Easter celebration!

How to Make a Basic Food Coloring Dye Bath
Kitchen Essentials
As an Amazon Associate I earn from qualifying purchases.
Materials
- ½ cup warm water
- 1 teaspoon vinegar white vinegar or lemon juice
- 5-10 drops food coloring adjust depending on how bold you want the color
- 12 Large hard boiled eggs
Instructions
- In a cup or bowl, mix 1 cup of warm water, 10-20 drops of food coloring, and 1 teaspoon of vinegar.½ cup warm water, 1 teaspoon vinegar, 5-10 drops food coloring
- Gently place eggs into the dye bath with a spoon.12 Large hard boiled eggs
- Let them sit for 5-10 minutes, depending on how bold you want the color.
- Remove and place eggs on paper towels to dry.
Notes
5 Quick Tips for Perfect Easter Egg Dyeing
Want flawless results every time? Keep these easy tips in mind:1. Hard boil your eggs carefully
Simmer gently so shells don’t crack! Hard-cooked eggs with no cracks dye much more evenly.
2. Use room temperature eggs
Cold eggs straight from the fridge can cause uneven coloring. Let them sit out about 30 minutes before dyeing.
3. Prep your workspace
Cover your work area with paper towels and have small bowls of cold water ready for quick rinsing.
4. Add vinegar or lemon juice
A splash of vinegar, lime juice, or lemon juice in your dye bath helps set the color more vibrantly.
5. Dry eggs carefully
Instead of rubbing, gently place dyed eggs on a drying rack or over paper towels to avoid smudges.
Reference
The Kitchn. The Best Way to Dye Easter Eggs.


Thank you for sharing these techniques for dyeing easter eggs.