
Make homemade burger buns fast: under an hour right at home. The dough comes together fast, skips the first rise entirely, and bakes up tender with a slight chew that grips your burger without falling apart. It’s the kind of bun that makes you realize that you can make great tasting buns that are soft and pillowy with ease.
Most homemade bun recipes demand hours of patience, two separate rises, and the kind of planning that makes weeknight cooking feel impossible. This one tosses that timeline out the window. You’ll have eight golden, sesame-topped, bakery-soft buns ready in under an hour, start to finish.
Grab your stand mixer and let’s do this.

Why You’ll Love This Recipe
Skip the waiting game entirely. Most bun recipes lock you into a multi-hour commitment with two separate rises and careful timing. This one gets you from mixing bowl to golden, sesame-topped buns in under 45 minutes, no bulk fermentation required.
It tastes like a bakery made it. Soft, pillowy texture with a slight chew that holds up to juicy burgers without falling apart or turning to mush. The egg wash gives you that professional sheen and deep golden crust store-bought buns never deliver.
You don’t need fancy equipment or skills. A stand mixer does the heavy lifting, and the dough is forgiving enough that even first-time bread bakers get consistent results. No kneading by hand, no guesswork, no stress.
One dough, endless variations. Make pretzel buns with a quick baking soda boil, go savory with garlic butter, or swap sesame seeds for everything bagel seasoning. You can even divide the dough into 12 pieces for sliders without changing the technique.
They freeze like a dream. Slice them in half, wrap them tight, and freeze for up to three months. Toast them straight from the freezer and they taste like you just pulled them out of the oven.
Once you see how fast and flexible this recipe is, you just might be making them all the time.
This is where the magic happens, and it’s faster than you think. This method flips that script. You’re combining, kneading, shaping, and baking in one clean sequence with minimal downtime. The trick is skipping the bulk fermentation and going straight to portioning, which means your dough hits the oven while it’s still fresh and elastic. The result? Pillowy buns with a tight crumb and a golden crust that actually holds up to a juicy burger.

Make Burger Buns Fast at Home Now
As an Amazon Associate I earn from qualifying purchases.
Kitchen Essentials


Ingredients
Dough
- 2 Tablespoons Active Dry Yeast
- 1 Cup Plus 2 Tablespoons Warm Water about 110°F
- ⅓ Cup Vegetable Oil a neutral oil
- ¼ Cup Granulated Sugar
- 1 Large Egg beaten
- 1 Teaspoon Fine Salt
- 3 to 3 ½ Cups All-Purpose Flour
Topping
- 1 Egg Yolk
- 1 Tablespoon Water
- 2 Tablespoons Sesame Seeds
Instructions
- Bloom the yeast. Combine warm water (110°F, not hotter) with the active dry yeast in your stand mixer bowl. Add a neutral vegetable oil and granulated sugar. Stir once and walk away for 5 minutes. You’re looking for a thick, frothy foam on top. If it doesn’t foam, your yeast is dead and you need to start over with fresh yeast.2 Tablespoons Active Dry Yeast, 1 Cup Plus 2 Tablespoons Warm Water, ⅓ Cup Vegetable Oil, ¼ Cup Granulated Sugar
- Build the dough. Whisk beaten egg into the foamy yeast mixture. Add fine salt and the first 3 cups of all-purpose flour. Attach your dough hook and knead on medium-low speed for 3 to 5 minutes. The dough should pull away from the sides of the bowl and feel smooth and elastic, not sticky or shaggy. If it’s still clinging to the bowl after 3 minutes, add the remaining 1/2 cup of flour a tablespoon at a time until it cleans up. If you’re kneading by hand, work the dough on a lightly floured counter for 5 to 7 minutes until it bounces back when you poke it.1 Large Egg, 1 Teaspoon Fine Salt, 3 to 3 ½ Cups All-Purpose Flour
- Portion immediately. Don’t let the dough rise. Transfer it straight to a clean work surface and slice it into 8 equal pieces using a bench scraper or sharp knife. Roll each piece into a tight ball by cupping your hand over the dough and using circular motions to create surface tension. This step matters because a smooth, taut surface gives you a better rise in the oven and a more professional-looking bun.
- Rest and preheat. Line a large baking sheet with parchment paper or a silicone mat. Arrange your dough balls on the sheet with at least 2 inches of space between them. Drape a lightweight kitchen towel over the tray and let them rest for 10 minutes while your oven preheats to 425°F. This short rest relaxes the gluten just enough so the buns puff up instead of staying dense.
- Egg wash and seed. Whisk egg yolk with water in a small cup. Brush the top of each bun generously with the wash, making sure to cover the entire surface. This is what gives you that deep golden color and slight sheen. Scatter sesame seeds over the tops, pressing them lightly so they stick.1 Egg Yolk, 1 Tablespoon Water, 2 Tablespoons Sesame Seeds
- Bake fast. Slide the tray onto the center rack of your preheated oven. Bake for 8 to 12 minutes, checking at the 8-minute mark. You want a rich golden-brown top that’s just starting to deepen in color around the edges. If they’re still pale, give them another 2 minutes. Pull them out and transfer to a wire rack immediately so the bottoms don’t steam and get soggy.
- Let them cool completely before slicing. Cutting into warm buns compresses the crumb and ruins the texture you just worked to build.
Your Own Private Notes
Notes
Tips from Our Kitchen
The difference between good buns and great ones comes down to tiny adjustments. Professional bakers obsess over temperature, timing, and technique because even small shifts change the final product. When you’re working with a fast dough like this, you don’t have the luxury of a long fermentation to develop flavor or fix mistakes. That means every move counts. These tips are the shortcuts that bakeries use to get consistent results every single time.- Check your water temp with a thermometer. 110°F is the sweet spot. Hotter than that and you’ll kill your yeast. Cooler and it won’t activate properly. It’s best not to guess.
- Weigh your flour if you can. 3 cups of all-purpose flour should weigh about 360 grams. Scooping straight from the bag packs the cup and gives you too much flour, which leads to dry, tough buns. Spooning flour into your measuring cup and leveling it off is the next best option if you don’t have a scale.
- Don’t over-knead. Once the dough pulls away from the bowl and feels smooth, stop. Over-kneading tightens the gluten too much and gives you dense, chewy buns instead of soft, pillowy ones. If you’re using a stand mixer, 3 to 5 minutes is plenty.
- Use a bench scraper to portion evenly. Uneven dough balls bake at different rates. The small ones burn while the big ones stay doughy. Weighing each portion (about 90 grams per bun) takes 30 seconds and guarantees uniform results.
- Don’t skip the egg wash. It’s not just for looks. The proteins in the egg yolk create a barrier that locks in moisture and gives you that bakery-style sheen. Skipping it leaves you with pale, matte buns that look homemade in the worst way.
Nutrition

Variations & Swaps
This dough is a blank canvas that can shift in a dozen different directions without losing its magic.
Once you’ve nailed the base recipe, you can start playing with flavors, shapes, and toppings to match whatever you’re grilling or craving.
The beauty of a fast dough like this is that it’s forgiving enough to handle swaps without falling apart. Whether you want to lean savory, add a little sweetness, or change the texture entirely, these variations keep the same quick timeline while giving you completely different results.
- Pretzel buns: After shaping the dough balls, bring a large pot of water to a boil with 1/4 cup of baking soda. Boil each bun for 30 seconds per side, then transfer to your baking sheet, brush with egg wash, and sprinkle with coarse sea salt instead of sesame seeds. Bake as directed. You’ll get that deep brown, chewy-crusted pretzel vibe in the same amount of time.
- Garlic butter buns: Skip the sesame seeds. After baking, brush the warm buns with melted butter mixed with minced garlic and a pinch of parsley. This works especially well if you’re serving the buns with barbecue or smash burgers.
- Whole wheat swap: Replace up to half the all-purpose flour with whole wheat flour. You’ll need to add an extra tablespoon or two of water because whole wheat absorbs more liquid. The buns will be slightly denser and nuttier, but still soft and tender.
- Slider-sized buns: Divide the dough into 12 pieces instead of 8. Reduce the baking time to 6 to 8 minutes. Perfect for sliders, breakfast sandwiches, or mini pulled pork situations.
- Everything bagel topping: Swap sesame seeds for everything bagel seasoning. The garlic, onion, and poppy seeds add a ton of flavor and make these buns work just as well for deli sandwiches as they do for burgers.
Once you see how flexible this dough is, you’ll stop buying buns entirely and start customizing them to whatever’s on the menu.

Storage Tips
These buns stay soft for days if you treat them right.
Let them cool completely on a wire rack before storing. Any residual heat creates condensation inside the bag, which turns your buns soggy and kills the texture.
Once they’re fully cooled, transfer them to an airtight bag or container and store at room temperature for up to 3 days. If you need them to last longer, freeze them. Slice the buns in half first, then wrap them tightly in plastic wrap and place them in a freezer-safe bag. They’ll keep for up to 3 months.
To reheat, toast frozen buns directly from the freezer in a toaster or toaster oven until warmed through and slightly crispy on the cut sides.
For room-temperature buns, a quick 20-second microwave blast wrapped in a damp paper towel brings back the softness. If you’re grilling, brush the cut sides with butter and toast them on the grill for 30 seconds. The slight char adds flavor and keeps the bun from getting soggy under a juicy patty.
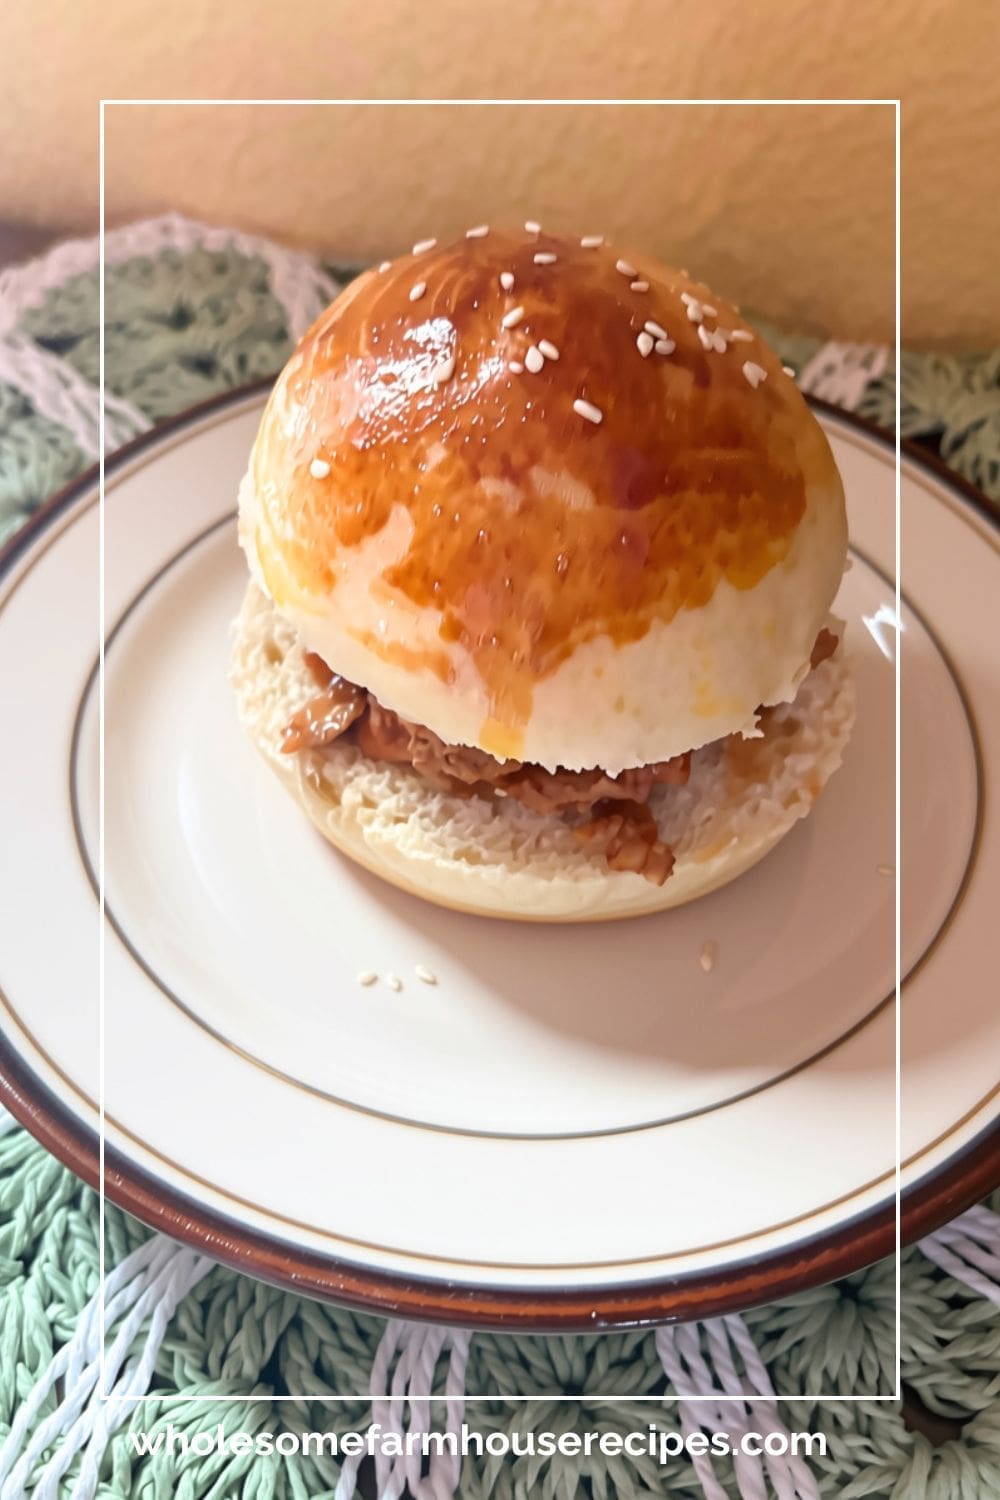
Soft Sesame Buns in 45 Minutes Flat with No Waiting
Homemade buns this good deserve to be treated like the upgrade they are.
You just proved that bakery-quality buns don’t require a full day or fancy equipment. With a stand mixer, 45 minutes, and eight ingredients you probably already have, you can turn out golden, sesame-topped buns that make every burger, sandwich, or slider taste like it came from a restaurant.
Stay connected with Wholesome Farmhouse Recipes
Add Wholesome Farmhouse Recipes as a preferred source in Google Search to make it easier to find our recipes and cooking ideas when you're searching for something delicious to make.


Delicious, Quick, and Easy!