
Did you know you can make roasted green peas as a snack? Your freezer peas just became the crunchiest snack in your kitchen. Simple seasoning and one crucial drying step transform them into addictive bites.
You know that moment when you want something salty and crunchy but also feel like you should probably eat a vegetable?
That’s exactly where these roasted peas come in. They’re shatteringly crisp on the outside, just barely tender inside, and hit that same dopamine button as a bag of chips. Except these are just peas tossed in olive oil, garlic powder, and salt.
Why You’ll Love This Recipe
You probably already have everything you need. Frozen peas, olive oil, garlic powder, salt, and pepper. That’s it. No specialty ingredients or last-minute grocery runs.
It’s more nutritious than chips but just as addictive. You get that satisfying crunch and salty hit without the guilt. These are vegetables that taste like a treat.
The texture is unreal. When you nail the drying step, these peas come out shatteringly crisp on the outside with just a hint of tenderness inside. It’s the kind of crunch you can hear.
You can customize them endlessly. Once you master the base recipe, you can go spicy, cheesy, tangy, or herbaceous. Same method, completely different snack every time.
They disappear fast. Make a double batch because everyone who tries one will keep reaching for more. They’re that good.

One Simple Trick
Most people skip the one step that makes roasted peas actually crispy. Master this technique and you’ll crave these golden bites all week long.Skip it and you get steamed, sad peas. Do it right and you get golden, crunchy bites that disappear in minutes.
Trust me, this is the snack you didn’t know your freezer was hiding.
Why the Drying Step Changes Everything
Most people rinse their frozen peas and throw them straight on a baking sheet. That’s the mistake.
Ice-coated peas release moisture as they heat up, and that steam prevents browning. You end up with wrinkled, chewy peas instead of crispy ones. The 30 to 40 minutes of air drying pulls out that excess water so the oven can actually roast them instead of steaming them. It feels like forever when you’re hungry, but it’s the difference between a snack you devour and one you throw out.
If you’re in a rush, spread them on a clean kitchen towel and press gently with paper towels. You’ll cut some time, but don’t skip drying entirely. Your patience pays off in crunch.

Roasted Green Peas Recipe for the Crunchiest Snack
As an Amazon Associate I earn from qualifying purchases.
Kitchen Essentials


Ingredients
- 2 Cups Frozen Green Peas
- 1 Teaspoon Olive Oil
- Sea Salt to taste
- Black Pepper freshly cracked, to taste
- ½ Teaspoon Garlic Powder optional
Instructions
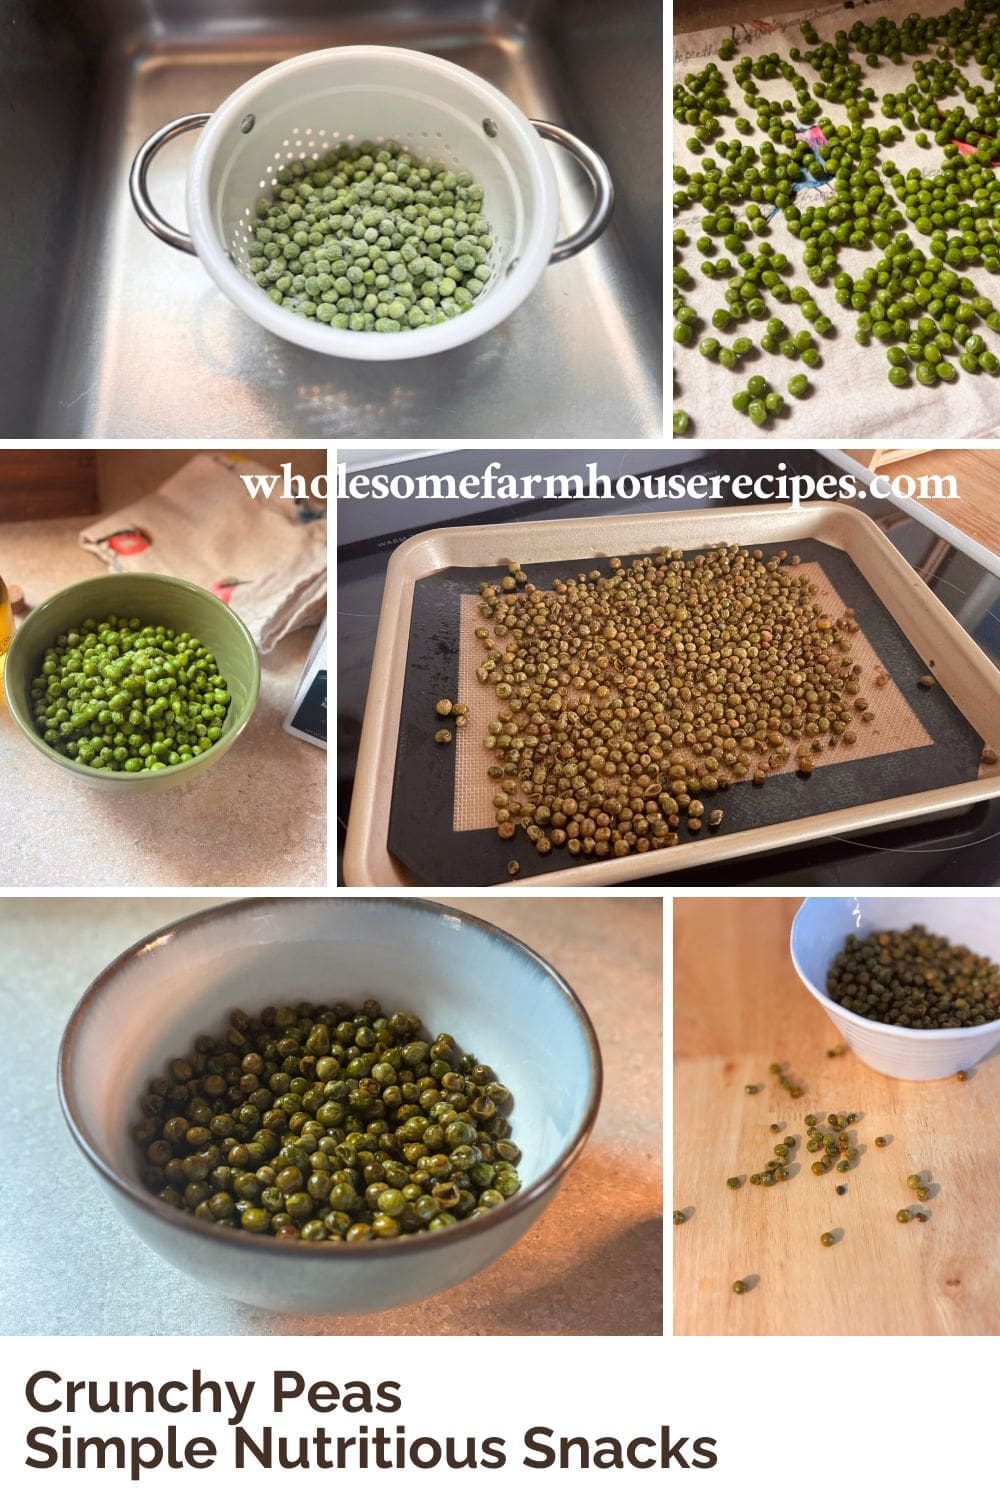
- Preheat your oven to 375°F. Position the rack in the center so heat circulates evenly. No hot spots, no burning.
- Rinse the frozen peas under warm water for 1 to 2 minutes. This melts off the ice coating fast. Don’t use cold water or you’ll be there forever.2 Cups Frozen Green Peas
- Dry them completely. Spread the peas on paper towels or a clean kitchen towel. Pat them down, then let them sit for 30 to 40 minutes. This is the step that makes or breaks the crunch.
- Season in a bowl. Add the dried peas, drizzle with 1 teaspoon of olive oil, then sprinkle garlic powder, salt, and pepper. Toss with your hands or a spoon until every pea has a light coating.1 Teaspoon Olive Oil, Sea Salt, Black Pepper, ½ Teaspoon Garlic Powder
- Spread them on a parchment-lined baking sheet in a single layer. Don’t pile them up. They need space to breathe and crisp.
- Roast for 45 to 50 minutes. At the 25-minute mark, pull the pan out and shake it around. This flips the peas and ensures even browning.
- Let them cool on the pan for 5 minutes. They’ll firm up and get crunchier as they sit. Taste one. If it’s not salty enough, hit them with a pinch more salt while they’re still warm.
- You’ll hear the difference when you bite into one. That snap means you nailed it.
Your Own Private Notes
Notes
- 45 to 50 minutes total roast time gives you evenly golden peas with that audible crunch
- Shake the pan halfway through so every pea gets direct heat and nothing burns on one side
- Single layer only because crowding traps steam and ruins texture
Nutrition
Variations and Swaps
Once you’ve got the base recipe down, this is where you can get a little creative without messing up the texture.
Cheesy Umami Bomb: Toss the hot peas with 2 tablespoons grated Parmesan or nutritional yeast right when they come out of the oven. The residual heat melts it just enough to stick.
Ranch Style: Mix 1/2 teaspoon dried dill, 1/4 teaspoon onion powder, and a tiny pinch of dried parsley with the garlic powder. Instant ranch-flavored crunch.
Lemon Pepper: Skip the garlic powder and use 1/2 teaspoon lemon zest mixed with cracked black pepper. Toss with the oil before roasting. Bright, sharp, addictive.
Cajun: A little smoky with just the right amount of heat. Add ½ teaspoon Cajun seasoning, ¼ teaspoon smoked paprika. If your Cajun seasoning already contains salt, reduce or omit the added salt.
Dill Pickle: Tangy and surprisingly addictive. Add ½ teaspoon dried dill weed, ¼ teaspoon onion powder, ⅛ teaspoon citric acid (optional for extra pickle flavor). After roasting, lightly spritz with white vinegar if you’d like even more tang.
Italian Herb: Great for topping soups or salads. Add ½ teaspoon Italian seasoning, 2 tablespoons grated Parmesan cheese (add during the last 5 minutes).
Snacking with a Little Kick
Taco Seasoning: Perfect for taco night or adding to salads. Add 1 teaspoon taco seasoning, ¼ teaspoon cumin, and Pinch of cayenne pepper (optional for extra heat).
Spicy Version: Add 1/4 teaspoon cayenne pepper or smoked paprika to the seasoning mix before roasting. The heat toasts in the oven and coats every pea without overwhelming them.
Buffalo Style: A spicy snack for wing lovers.
Roast the peas with:
- ½ teaspoon garlic powder
- ¼ teaspoon paprika
Once roasted, drizzle with:
- 1 teaspoon buffalo wing sauce
Return to the oven for 3 to 5 minutes to help the sauce set before cooling.
Curry Spice: Warm, earthy flavors with a hint of sweetness. Add ½ teaspoon curry powder, ¼ teaspoon ground cumin, Pinch of turmeric, and a Pinch of black pepper.
Smoky Chipotle: A bold flavor with a little heat. ½ teaspoon chipotle chili powder. ¼ teaspoon smoked paprika, and a Pinch of brown sugar to balance the spice.
Sweet Snacking
Sweet Cinnamon Sugar: For a lightly sweet snack. Use 1 teaspoon melted butter or coconut oil instead of olive oil. Then toss with: 1 tablespoon granulated sugar, ½ teaspoon, ground cinnamon, and a Pinch of salt.
Honey Cinnamon: A lightly glazed sweet treat.
Roast the peas first with:
- 1 teaspoon olive oil
During the last 5 minutes of baking, drizzle with:
- 1 teaspoon honey
- ½ teaspoon cinnamon
Watch carefully so the honey doesn’t burn.
You can also swap frozen edamame for the peas if you want a meatier bite. Just keep the same drying and roasting process. The texture holds up beautifully and the flavor is a little richer.

Storage Tips
These are best eaten the day you make them, but you can stretch them if you store them right.
- Room temperature in an airtight container: They’ll stay crispy for 1 to 2 days. Don’t refrigerate them or they’ll get soggy from condensation.
- Reheat in the oven at 350°F for 5 to 7 minutes if they lose their crunch. The microwave will ruin them, so don’t even try.
- If they go soft, spread them on a baking sheet and pop them back in a hot oven for a few minutes. You can revive most of the texture.
Honestly though, these disappear so fast you probably won’t have leftovers. Make a double batch if you’re serving them at a party or packing them for snacks during the week.
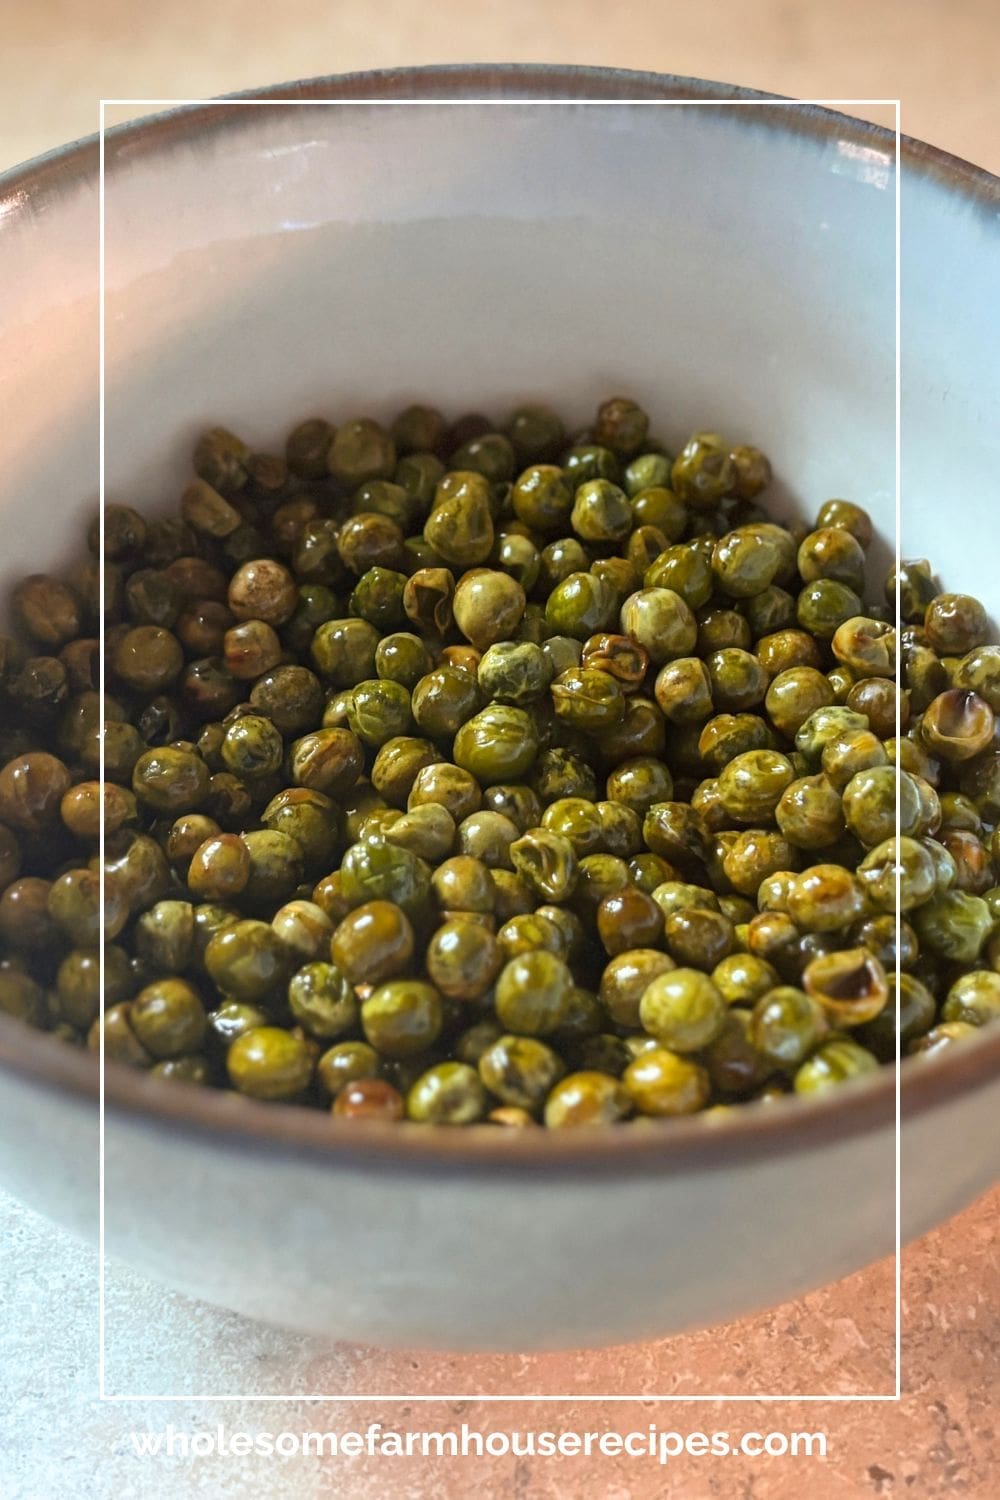
Crispy Garlic Roasted Peas You’ll Make Every Week
These peas prove that the best snacks don’t need to come from a bag. You’ve got everything you need in your freezer right now.
They’re salty, crunchy, surprisingly satisfying, and they take almost zero skill to pull off. Just a little patience and a hot oven. Once you taste that first golden, garlicky bite, you’ll get why this recipe is worth the wait.
Stay connected with Wholesome Farmhouse Recipes
Add Wholesome Farmhouse Recipes as a preferred source in Google Search to make it easier to find our recipes and cooking ideas when you're searching for something delicious to make.


My family loved this!