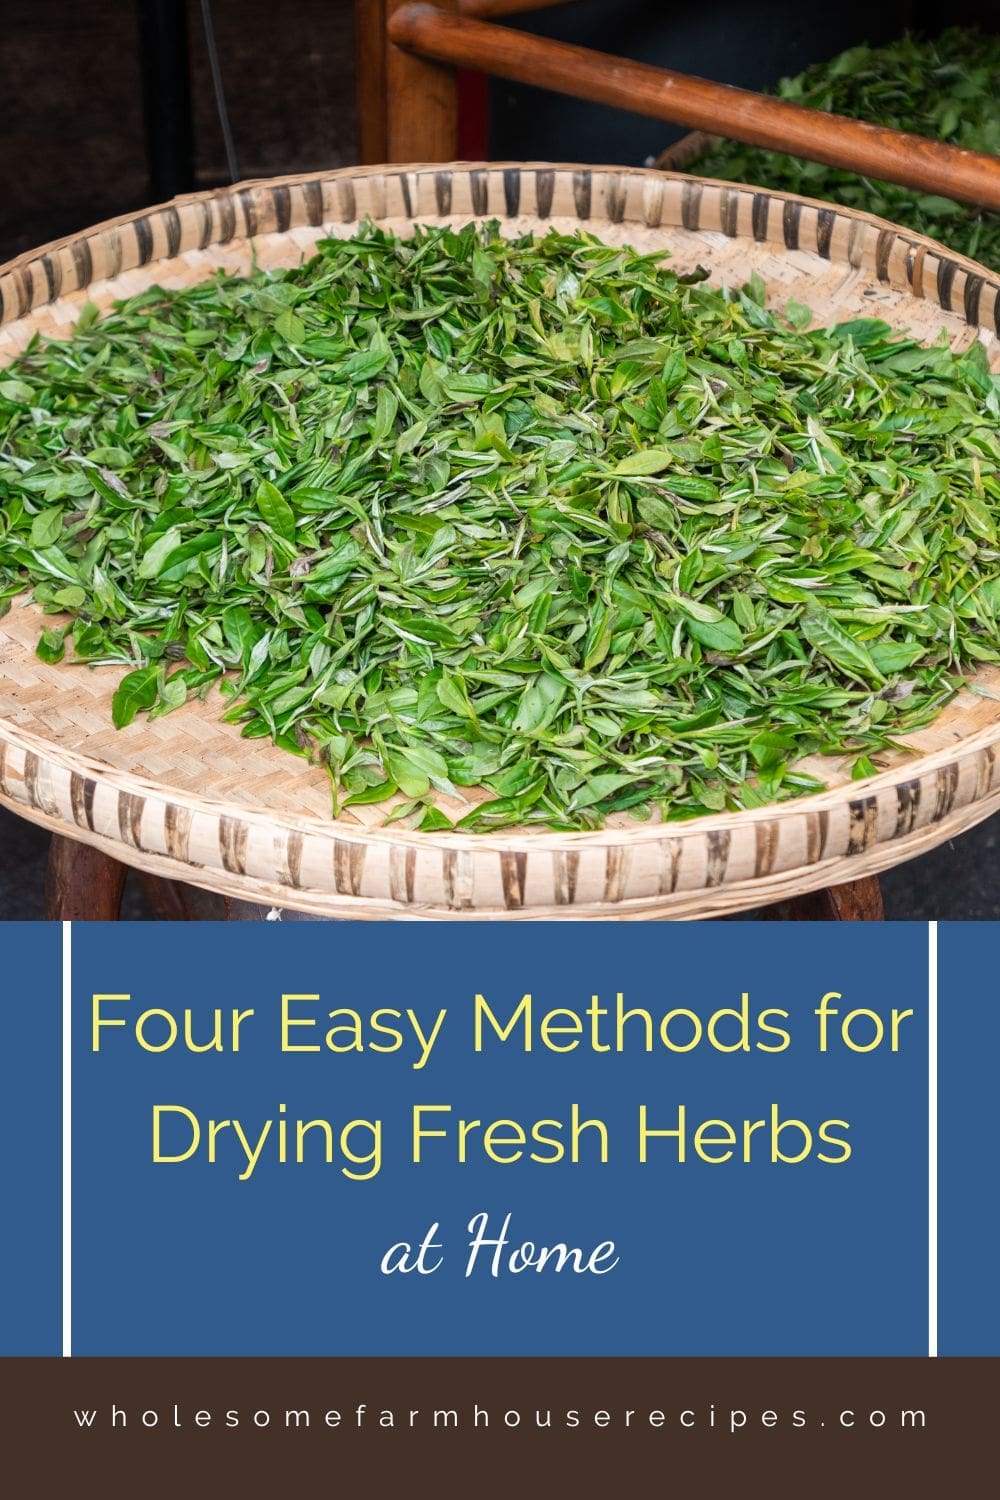
We have four simple methods for drying fresh herbs at home. Your herb garden doesn’t have to die with the season. We have four proven methods that turn wilting sprigs into shelf-stable flavor that lasts months. No dehydrator is needed. Air, oven, microwave, or countertop methods that work with what you already own and deliver restaurant-quality results.
You bought fresh basil for one recipe, and now half the bunch is turning brown in your crisper drawer.
It happens to everyone. Fresh herbs are expensive, fragile, and seem to go bad the moment you look away. But here’s the thing: those wilting sprigs don’t have to become compost. With the right drying method, you can stretch that five-dollar bunch into months of concentrated flavor that rivals anything you’d buy at the store.
Whether you have a full garden or just a grocery store haul, drying herbs at home is easier than you think. No fancy equipment required. No confusing techniques. Just simple methods that work with what you already have in your kitchen.
And once you nail it, you’ll never look at those overpriced spice jars the same way again.
Which Herbs Are Best for Drying
Not all herbs dry equally well, and knowing which ones work best will save you from disappointing results.
Herbs with sturdy, low-moisture leaves are your best candidates. Rosemary, thyme, oregano, sage, marjoram, and bay leaves practically dry themselves. Their woody stems and thick leaves hold up to any drying method without losing much flavor or color. These are the foolproof options if you’re just starting out.
Herbs with soft, delicate leaves require more attention but are absolutely worth drying. Basil, parsley, cilantro, dill, and mint have higher moisture content and can lose color or flavor if you use too much heat or take too long. These herbs do best with gentler methods like air drying or low-temperature dehydrating.
Herbs that don’t dry well include chives and most varieties of lettuce-like herbs. They have too much water content and tend to lose all their flavor once dried. These are better preserved through freezing or using fresh.
If you’re harvesting from your garden, stick to perennial woody herbs and annual leafy herbs that are at peak freshness. If you’re buying from the store, choose bunches that are vibrant, aromatic, and show no signs of wilting, browning, or sliminess. The better the quality going in, the better your dried herbs will turn out.
Best Herbs to Dry for Cooking
Whether you’re preserving herbs from your garden or making the most of a fresh bunch from the grocery store, some herbs hold their flavor better than others. This guide will help you choose the best drying method and know which herbs are worth preserving.
| Herb | Flavor After Drying | Best Drying Method | Best Uses |
| Oregano | Excellent | Air dry or dehydrator | Pizza, pasta sauces, Italian seasoning |
| Thyme | Excellent | Air dry or hang | Soups, poultry, roasted vegetables |
| Rosemary | Excellent | Hang or air dry | Roasted potatoes, breads, meats |
| Sage | Excellent | Air dry or dehydrator | Stuffing, sausage, poultry dishes |
| Marjoram | Excellent | Air dry | Soups, stews, Mediterranean recipes |
| Bay Leaves | Excellent | Air dry | Stocks, soups, beans, braised meats |
| Mint | Very Good | Air dry or dehydrator | Tea, desserts, fruit salads, drinks |
| Dill | Very Good | Hang or dehydrator | Pickles, seafood, potatoes, dips |
| Tarragon | Very Good | Air dry | Chicken, fish, salad dressings |
| Basil | Good | Dehydrator (low heat) | Tomato sauce, pesto, Italian dishes |
| Parsley | Good | Dehydrator | Soups, sauces, garnish, herb blends |
| Lemon Balm | Good | Air dry | Herbal teas, syrups, desserts |
| Lavender (culinary) | Excellent | Hang or air dry | Baking, tea, simple syrups |
| Cilantro | Fair | Dehydrator | Mexican and Asian dishes (freezing is usually better) |
| Chives | Poor | Freeze instead | Potato dishes, eggs, soups |
Kitchen Tips
- Best all-purpose herbs to dry: Oregano, thyme, rosemary, sage, and bay leaves keep their flavor exceptionally well and are pantry staples.
- Great for seasoning blends: Oregano, thyme, rosemary, marjoram, parsley, basil, and sage.
- Best for teas: Mint, lemon balm, chamomile, and culinary lavender.
- Better frozen than dried: Chives and cilantro retain much more of their fresh flavor when frozen.

How to Prepare Herbs for Drying
Proper preparation makes the difference between herbs that dry perfectly and herbs that mold or lose all their flavor.
Start by harvesting or selecting at the right time. If you’re cutting from your garden, do it in the morning after the dew has dried but before the sun gets too intense. That’s when the essential oils are most concentrated. If you’re using store-bought herbs, just make sure they’re as fresh as possible.
Rinse your herbs gently under cool water to remove dirt, insects, or residue. Don’t skip this step even if they look clean. Lay them out on a clean kitchen towel or paper towels and pat them completely dry.
This is critical. Any moisture left on the leaves invites mold and ruins the batch. Some people prefer to rinse herbs the night before and let them air dry overnight to ensure they’re totally moisture-free.
Remove any damaged, brown, or wilted leaves. They won’t improve with drying and can affect the flavor of your entire batch. You want only the healthiest, most vibrant leaves making it through the process.
Decide whether to keep stems on or remove leaves. For air drying, you’ll keep stems on and bundle them. For oven, microwave, or dehydrator methods, strip the leaves off the stems. Stems take longer to dry and can create uneven results if you’re using heat-based methods.
Once your herbs are clean, dry, and trimmed, you’re ready to choose your drying method. Proper prep work here makes everything else easier and gives you the best shot at professional-quality results.
What You’ll Need to Dry Herbs Like a Pro
Most people think herb drying requires a dehydrator or special setup. It doesn’t.
The truth is, you can dry herbs using tools already sitting in your kitchen. The method you choose depends on how much time you have, what type of herb you’re working with, and whether you want maximum flavor retention or just need it done quickly. Some herbs, like rosemary and thyme, have sturdy leaves that handle almost any method. Others, like basil and parsley, are delicate and lose color fast if you’re not careful.
Here’s what you might use depending on your chosen method:
- For air drying: Kitchen twine, rubber bands, paper bags, and a warm dry spot away from sunlight
- For oven drying: Baking sheets, parchment paper, and an oven that goes as low as 180°F
- For microwave drying: Paper towels, microwave-safe plates, and 30-second intervals of attention
- For dehydrator drying: A food dehydrator and mesh trays (optional but ideal for bulk batches)
No matter which route you take, you’ll also want airtight glass jars or containers for storage.
Plastic bags work in a pinch, but glass keeps the flavor locked in longer and protects against moisture and light.
Label everything with the herb name and date, because dried oregano and dried marjoram look nearly identical six months later.
The Four Best Ways to Dry Fresh Herbs
Not all drying methods are created equal, and choosing the wrong one can leave you with flavorless dust or herbs that never fully dry.
Here’s the breakdown of the four most reliable techniques, what they’re best for, and how to execute them without guessing.
1. Air Drying (Best for Sturdy Herbs)
This is the old-school method, and it works beautifully for herbs with low moisture content like rosemary, thyme, oregano, sage, and bay leaves.
- Rinse your herbs gently and pat them completely dry with a towel. Any leftover water invites mold.
- Bundle 5 to 7 stems together and secure with twine or a rubber band. Don’t make the bundles too thick or air won’t circulate.
- Hang them upside down in a warm, dry, dark place with good airflow. A pantry, closet, or unused room works great. Avoid kitchens where steam and grease can interfere.
- Wait 1 to 2 weeks. You’ll know they’re done when the leaves crumble easily between your fingers.
If you’re worried about dust, slip a paper bag over the bundle with a few holes poked in it. This also catches any leaves that fall during drying. Air drying takes the longest, but it preserves the most flavor and requires zero energy or equipment. It’s the method grandmothers swear by for a reason.
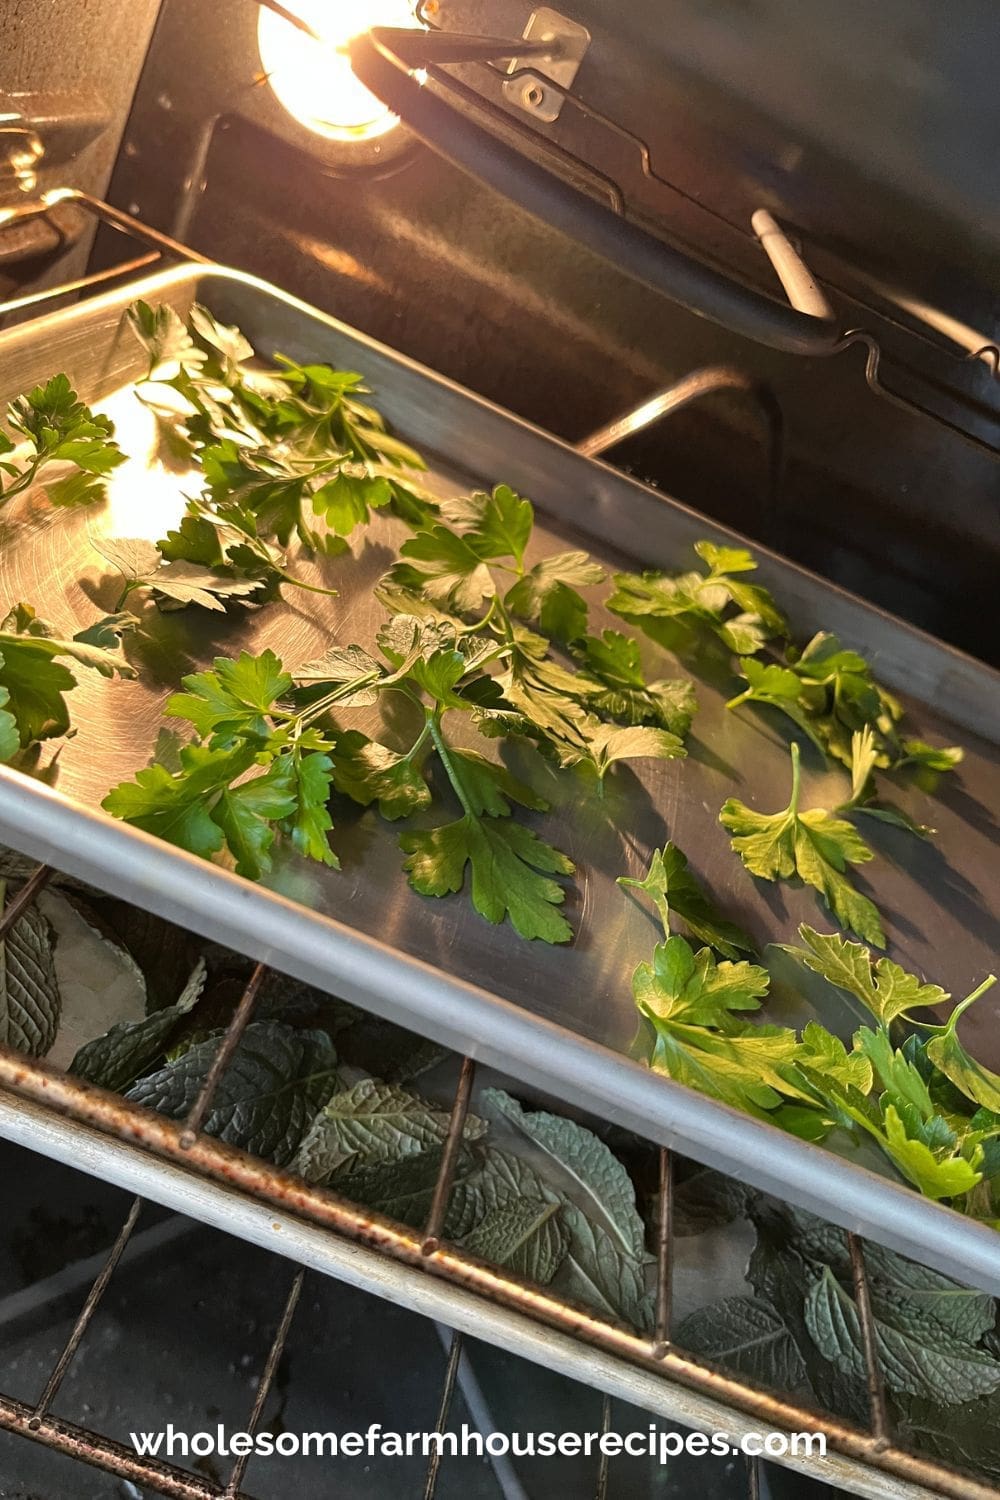
2. Oven Drying (Best for Speed)
When you need dried herbs today, not next week, the oven is your friend. This works for almost any herb but requires close attention so you don’t accidentally bake them into bitter oblivion.
- Preheat your oven to the lowest setting, ideally between 170°F and 180°F. Any hotter and you’ll cook the oils right out.
- Strip leaves from the stems and spread them in a single layer on a parchment-lined baking sheet. Don’t overlap.
- Place the sheet in the oven and prop the door open slightly with a wooden spoon to let moisture escape.
- Check every 15 to 20 minutes. Most herbs finish in 1 to 2 hours. They’re done when they crumble but aren’t turning brown.
Oven drying works fast, but it’s also the easiest method to mess up. If your oven runs hot or you walk away too long, you’ll end up with herbs that taste like burnt hay. The key is low heat and constant supervision. Think of it like babysitting, not baking.
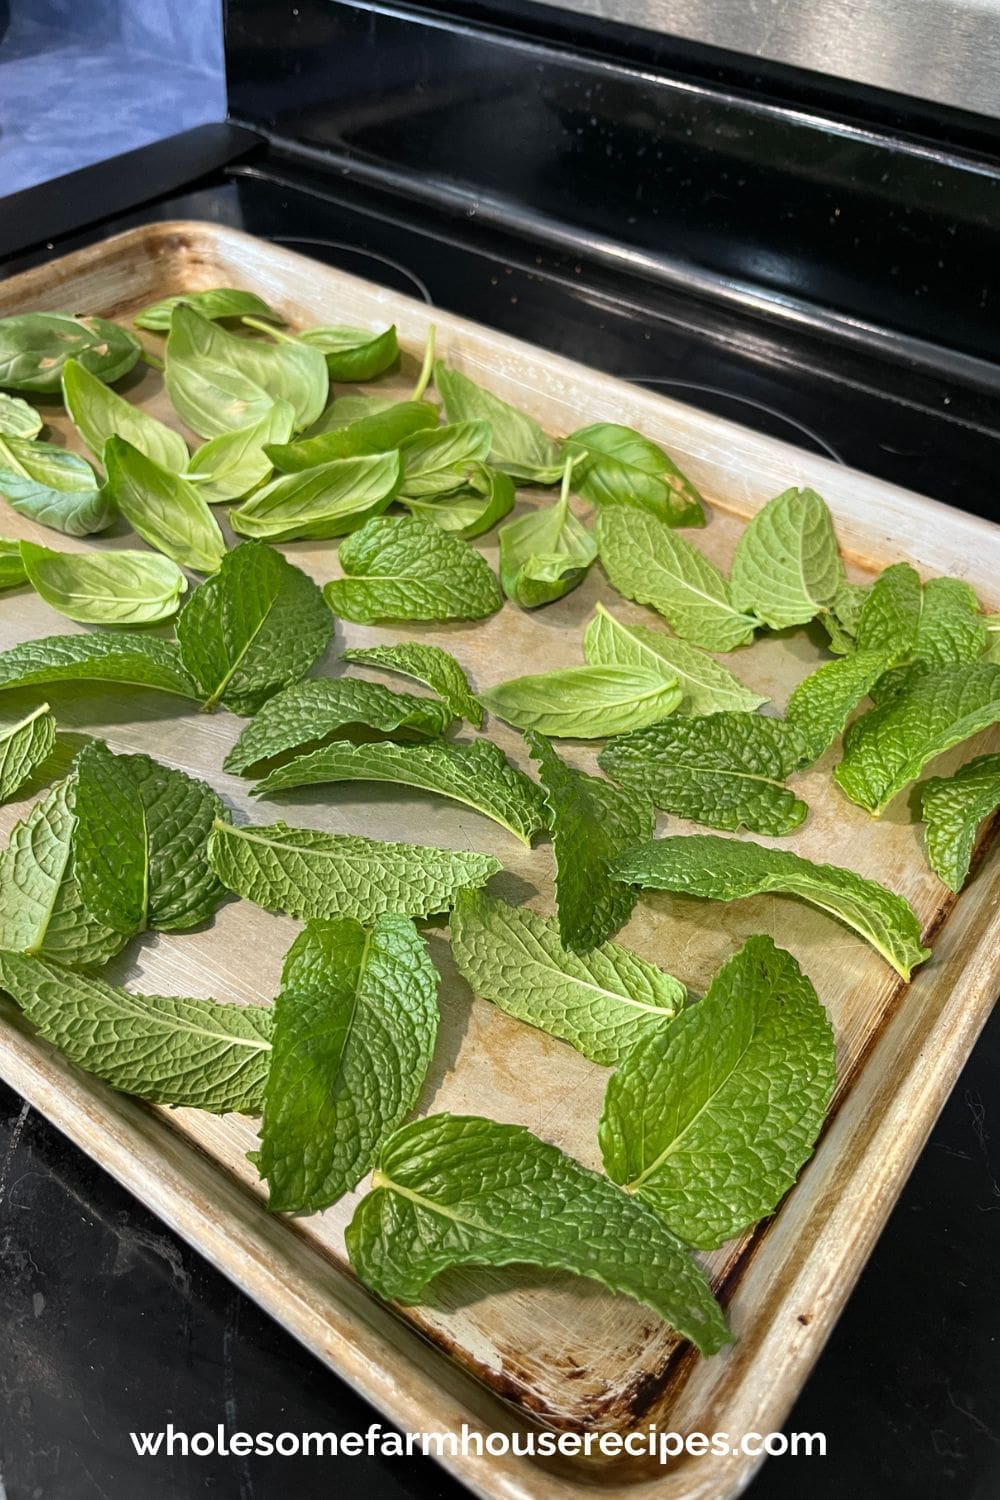
3. Microwave Drying (Best for Small Batches)
This method sounds weird, but it’s shockingly effective for herbs you need in the next five minutes.
Place a handful of clean, dry herb leaves between two paper towels. Microwave on high for 30 seconds, then check. If they’re not crispy, flip them and go another 20 to 30 seconds. Repeat until they crumble easily.
Watch them closely. Microwaves vary wildly in power, and herbs can go from perfect to scorched in seconds. This method works best for small quantities of basil, parsley, cilantro, and other soft-leaved herbs. It’s not ideal for bulk drying, but it’s a lifesaver when you need dried herbs for dinner and forgot to prep ahead.
The downside? You lose a bit more flavor compared to air drying, and the color can dull slightly. But if it’s a choice between microwave drying or tossing wilted herbs in the trash, the microwave wins every time.
4. Dehydrator Drying (Best for Consistency and Volume)
If you dry herbs regularly or grow them in bulk, a dehydrator is worth the investment. It gives you the most control and the most consistent results.
- Set the dehydrator to 95°F to 115°F. Low and slow is the name of the game.
- Spread clean, dry leaves in a single layer across the trays. Don’t stack or overlap.
- Run the dehydrator for 1 to 4 hours depending on the herb. Delicate herbs like basil finish faster, woody herbs like rosemary take longer.
- Check periodically. When the leaves crumble easily, they’re done.
Dehydrators circulate air evenly, so you don’t have to rotate trays or worry about hot spots like you do with an oven. They’re quiet, energy-efficient, and hands-off. If you’re serious about preserving your garden haul or just want to eliminate the guesswork, this is the method that delivers every time.
Benefits of Drying Herbs
Drying your own herbs at home isn’t just a hobby for people with too much time on their hands. It offers real, practical advantages that affect both your wallet and your cooking.
You get better flavor. Store-bought dried herbs often sit on shelves for months or even years, losing potency the entire time. When you dry herbs yourself, you control the freshness and can use them at their peak. Homegrown or freshly purchased herbs that you dry immediately retain far more of their essential oils and aromatic compounds than anything you’ll find in a plastic bottle.
You know exactly what’s in them. Commercial dried herbs can contain anti-caking agents, preservatives, or be irradiated to extend shelf life. When you dry your own, it’s just the herb—nothing else. You also avoid potential pesticide residues if you’re growing organically or buying from trusted sources.
You always have seasonings on hand. There’s nothing worse than starting a recipe and realizing you’re out of a key herb. When you have a stash of dried herbs you’ve prepared yourself, your pantry becomes a reliable flavor arsenal that’s ready whenever you need it.
You can preserve seasonal abundance. Gardens produce in waves. If you grow your own herbs, you’ll often have more basil or oregano than you can use fresh. Drying lets you capture that summer harvest and enjoy it all year long.
Drying herbs turns something perishable and expensive into a shelf-stable staple that improves your cooking and simplifies your life.
Budget Friendly
You save money. A small jar of dried herbs at the grocery store can cost $4 to $8, and most of that is packaging and markup. A single bunch of fresh herbs from the store or a small harvest from your garden can yield the equivalent of multiple jars of dried herbs for a fraction of the cost.
You reduce food waste. How many times have you bought fresh herbs for a recipe, used a tablespoon, and watched the rest rot in your fridge? Drying them extends their life from days to months, ensuring nothing goes to waste.
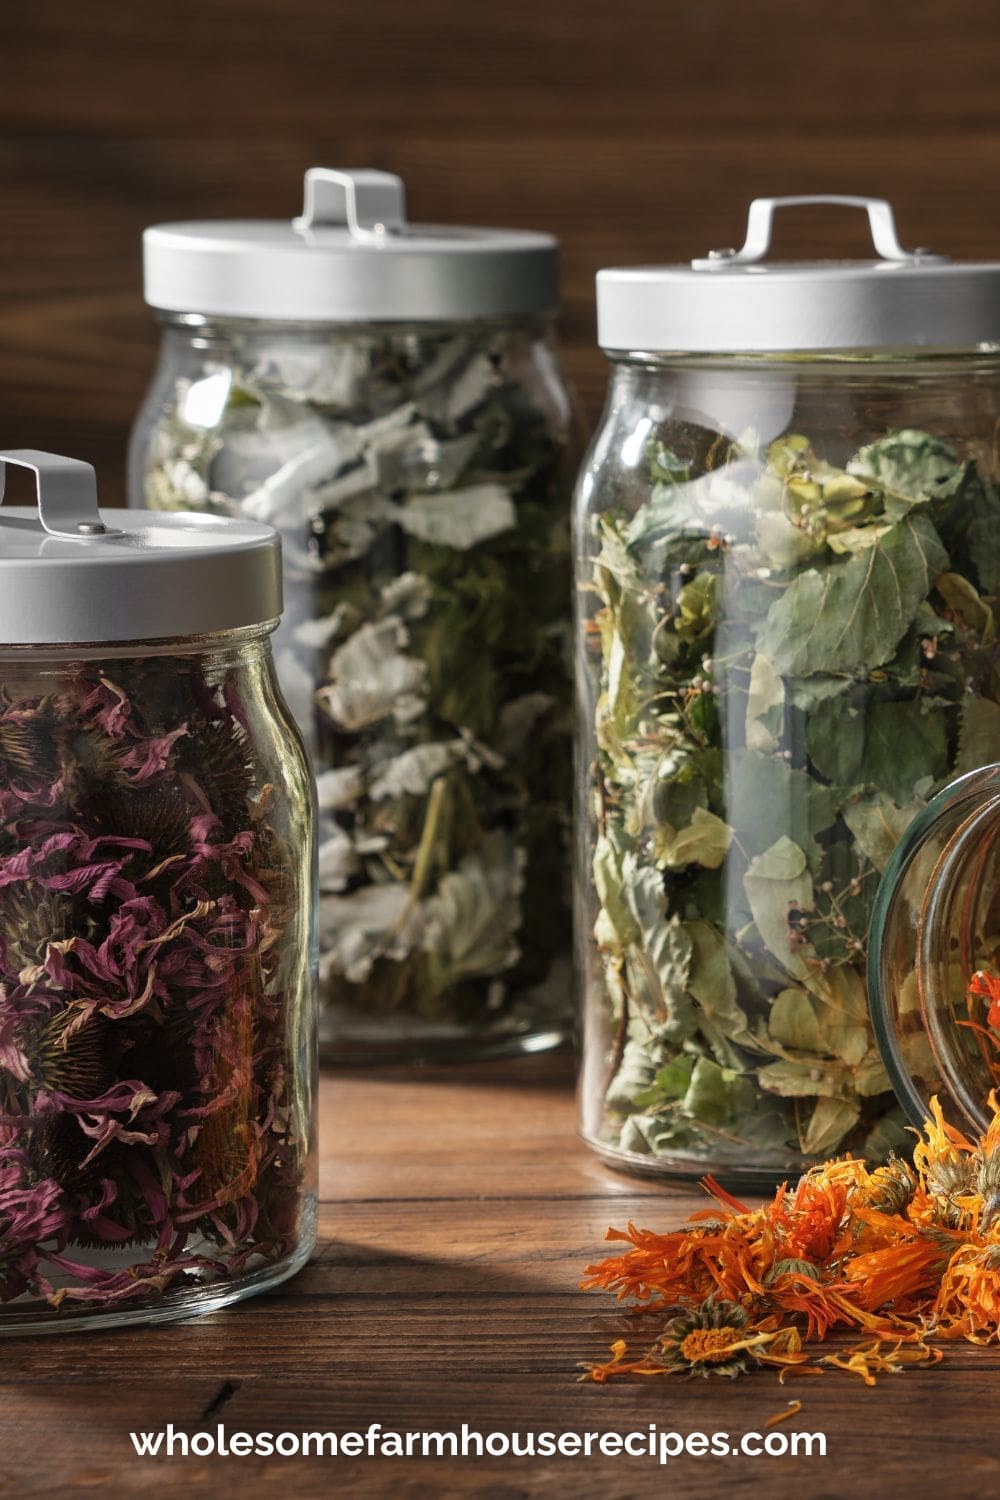
How to Store Dried Herbs So They Stay Fresh
Drying your herbs perfectly means nothing if you store them wrong.
Light, air, heat, and moisture are the enemies of dried herbs. Exposure to any of these will degrade flavor, dull color, and invite mold or staleness. You didn’t put in the work just to have flavorless dust six weeks later.
Here’s how to store them right:
- Use airtight glass jars. Mason jars, spice jars, or any container with a tight seal works. Glass doesn’t absorb odors or leach chemicals like plastic can.
- Store whole leaves when possible. Don’t crush them until you’re ready to use them. Whole leaves retain oils and flavor far longer than pre-ground herbs.
- Keep them in a cool, dark place. A pantry or cupboard away from the stove is ideal. Heat and light break down the oils that give herbs their flavor.
- Label everything. Write the herb name and the date you dried it. Most dried herbs stay potent for 6 months to 1 year, but you’ll want to track freshness.
If you notice your dried herbs losing their smell, they’ve lost their flavor too. At that point, they’re just taking up space. Toss them and start fresh. Properly stored herbs should smell strong the moment you open the jar. If they don’t, they won’t add much to your cooking.
Ideas on How to Use Dry Herbs
Once you have a collection of beautifully dried herbs, the question becomes: what do you actually do with them?
Farmhouse Tip: Dried herbs are more concentrated than fresh herbs. As a general rule, substitute 1 teaspoon of dried herbs for every 1 tablespoon of fresh herbs in your favorite recipes.
| Herb | Best Uses | Pairs Well With |
| Rosemary | Roasted meats | Garlic, potatoes, lemon |
| Thyme | Chicken, soups | Lemon, garlic, mushrooms |
| Sage | Stuffing | Butter, squash, pork |
| Oregano | Italian dishes | Tomatoes, garlic, basil |
| Dill | Fish | Lemon, cucumber, yogurt |
| Mint | Desserts | Chocolate, berries, citrus |
| Basil | Pasta | Tomatoes, mozzarella, garlic |
| Lavender | Baking | Honey, lemon, vanilla |
Recipe Ideas for Using Herbs
Season roasted vegetables. Toss carrots, potatoes, or Brussels sprouts with olive oil and a generous sprinkle of dried rosemary, thyme, or oregano before roasting. The dry herbs bloom in the heat and coat every surface with flavor.
Make custom spice blends. Combine dried oregano, basil, thyme, and rosemary for an Italian blend. Mix dried cilantro, cumin, and chili powder for a Mexican-inspired mix. Create your own signature combinations and keep them in small jars for quick seasoning.
Boost soups and stews. Add dried herbs early in the cooking process so they have time to rehydrate and release their oils. A teaspoon of dried thyme or bay leaves can transform a simple broth into something restaurant-worthy.
Infuse oils and vinegars. Place dried rosemary, thyme, or oregano in a bottle of olive oil or vinegar and let it sit for a week or two. You’ll end up with a flavored base perfect for salad dressings or dipping bread.
Brew herbal teas. Dried mint, chamomile, or lemon balm make soothing, caffeine-free teas. Just steep a teaspoon in hot water for a few minutes. Add honey if you like it sweet.
Upgrade marinades and rubs. Dried herbs work beautifully in spice rubs for chicken, pork, or beef. Combine them with salt, pepper, garlic powder, and paprika for a quick dry rub that adds layers of flavor.
Enhance sauces and dressings. Whisk dried basil or oregano into tomato sauce, pasta dishes, or homemade salad dressings. Because dried herbs are concentrated, you’ll use less than you would fresh—usually about one-third the amount.
Add to baked goods. Dried rosemary pairs beautifully with focaccia or bread dough. Dried lavender can add a subtle floral note to shortbread or scones.
Create homemade gifts. Fill small jars with your dried herbs, add a handwritten label, and tie them with twine. They make thoughtful, personal gifts for anyone who loves to cook.
The beauty of dried herbs is their versatility. Once you have them on hand, you’ll find yourself reaching for them constantly—and wondering how you ever cooked without them.
Common Mistakes That Ruin Dried Herbs
Even experienced cooks make these errors, and they wreck an otherwise perfect batch.
Drying herbs that are still wet. Moisture is the fastest path to mold. Always pat herbs completely dry after rinsing, or better yet, rinse them the night before and let them air dry on a towel.
Using too much heat. High heat destroys the volatile oils that give herbs their flavor. Whether you’re using an oven or dehydrator, keep the temperature low. Patience pays off here.
Overcrowding during drying. Air needs to circulate around each leaf. If you stack them or pack them too tight, the inner layers stay damp while the outer ones over dry.
Storing them near the stove. It’s convenient, but it’s also the worst spot in your kitchen. Heat and steam from cooking degrade dried herbs faster than almost anything else.
Crushing them too early. As soon as you crush dried herbs, you release the oils, and they start losing potency. Keep them whole until the moment you need them. Your future self will thank you when your six-month-old oregano still tastes like oregano.
Simple Ways to Dry Herbs at Home
Drying fresh herbs at home isn’t just a way to save money or reduce waste. It’s a way to take control of your kitchen, preserve the flavors you love, and always have high-quality seasoning within arm’s reach. Once you’ve tasted homegrown dried basil or rosemary compared to the stale stuff from the grocery store, there’s no going back.
Start with one method, one herb, and see how it goes. You’ll be hooked before the first jar is empty.


