Last updated on June 4th, 2026 at 10:08 am
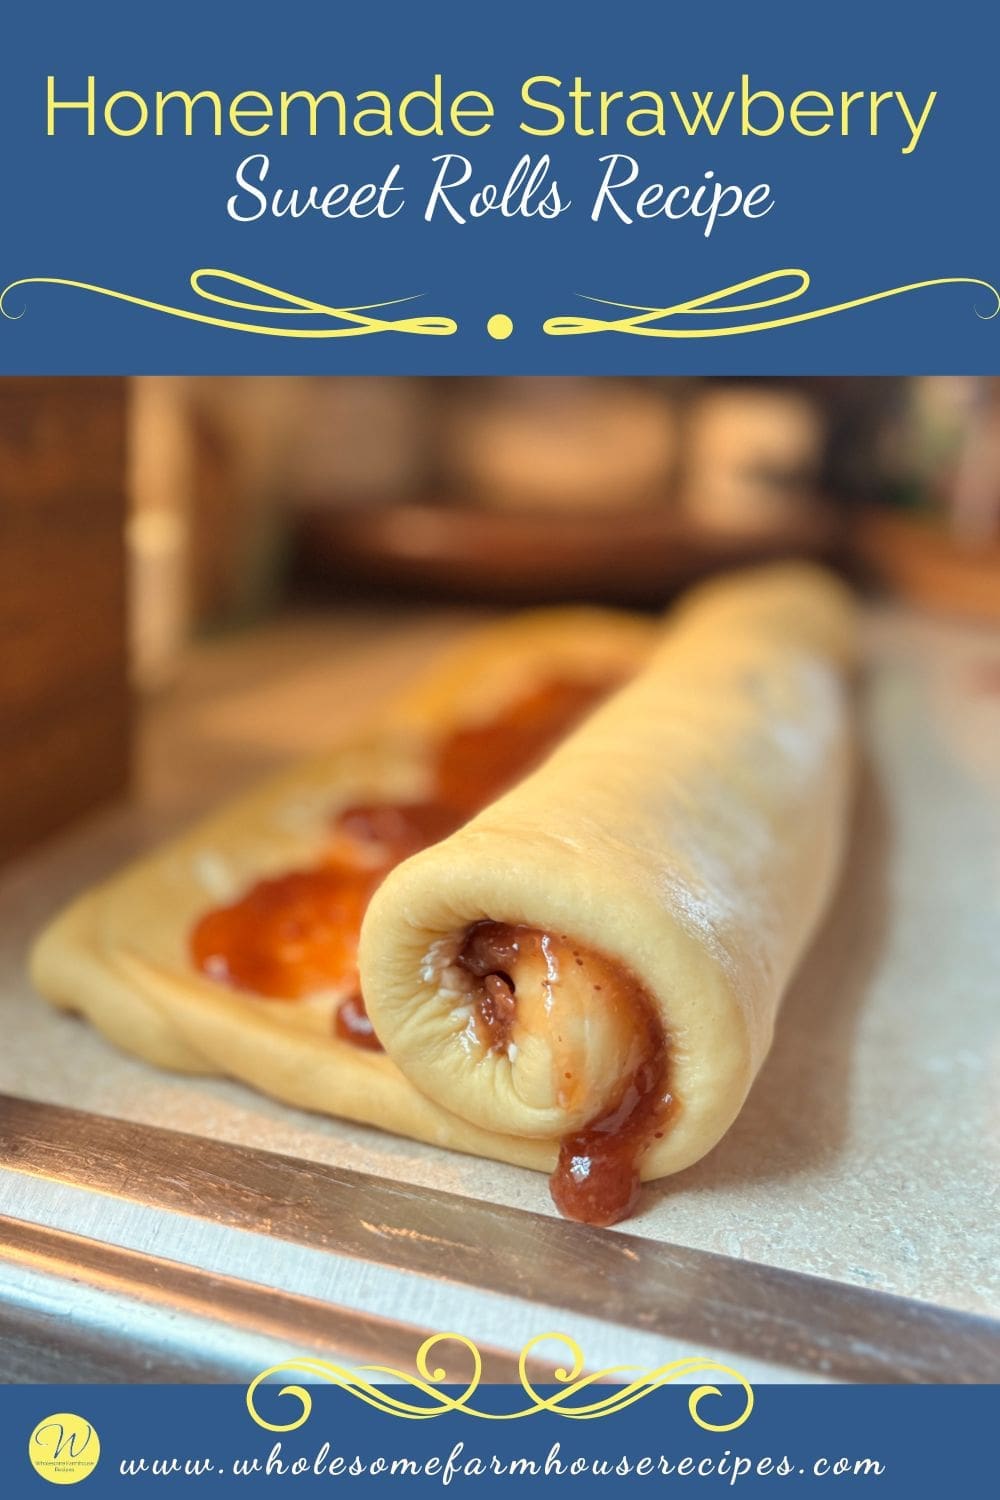
While cinnamon rolls will always have a place on my table, this Homemade Strawberry Sweet Rolls Recipe brings a bright and cheerful twist that’s perfect for spring and summer. Soft, pillowy dough is layered with sweet strawberry preserves, rolled into spirals, and baked until golden and fragrant.
The best part is the beautiful strawberry filling tucked between each layer. As the rolls bake, the preserves create sweet, jammy pockets that soak into the bread and add bursts of strawberry flavor throughout. Topped with a simple vanilla butter glaze, these homemade strawberry sweet rolls are the kind of treat that makes slow mornings and family gatherings feel extra special.
Picture this: a Sunday morning where the hardest decision you make is whether to eat one warm roll or three.
These strawberry sweet rolls are the kind of bake that makes your whole house smell like a hug. Soft, pillowy dough wrapped around thick strawberry jam that gets all caramelized and jammy at the edges, then drowned in vanilla butter glaze while they’re still warm enough to soak it all up.
They’re easier than you think. The dough is forgiving. The filling is three ingredients. And if you prep them the night before, you can roll out of bed, turn on the oven, and have fresh bakery-level rolls without the 6 a.m. panic.
Let’s make your kitchen the most popular room in the house.
The Secret to Extra Flavorful Strawberry Rolls
Unlike many strawberry roll recipes that use a thin layer of jam, this recipe embraces a thick, chunky filling.
The strawberry preserves seep into the dough as the rolls bake, creating tender, fruity layers throughout. A little cornstarch helps keep the filling thick enough to stay inside the rolls while still allowing it to bubble and caramelize around the edges.
Don’t worry if some filling escapes during rolling. Those sticky strawberry bits often become everyone’s favorite part.

Homemade Strawberry Sweet Rolls Recipe
As an Amazon Associate I earn from qualifying purchases.
Kitchen Essentials


Ingredients
For the Dough
- ¾ Cup Whole Milk (180 grams)
- 2¼ Teaspoons Active Dry Yeast (one ¼-ounce packet)
- ¼ Cup Granulated Sugar (50 grams)
- 4 Tablespoons Salted Butter melted and cooled (57 grams)
- 1 Large Egg room temperature
- 1 Large Egg Yolk room temperature
- 3 Cups Bread Flour 360 grams, plus more as needed
- ¾ Teaspoon Salt
- Olive oil or cooking spray for greasing the bowl
For the Strawberry Filling
- 4 Tablespoons Salted Butter softened (57 grams)
- 1 Cup Strawberry Jam thick, chunky or preserves
- 1 Tablespoon Cornstarch
For the Vanilla Butter Glaze
- 1½ Cups Powdered Sugar sifted
- 1 Tablespoon Butter melted
- 2 Tablespoons Milk
- ¼ Teaspoon Vanilla Extract
Instructions
- Activate the Yeast. Warm your milk to about 100°F. It should feel like a warm bath on your wrist, not hot coffee. In a large bowl or stand mixer, whisk together the warm milk, yeast, and sugar. Let it sit for 5 to 10 minutes until it gets foamy on top. This foam is proof your yeast is alive and ready to work. No foam means your milk was too hot or your yeast is dead. Start over if that happens.¾ Cup Whole Milk, 2¼ Teaspoons Active Dry Yeast, ¼ Cup Granulated Sugar
- Add the Wet Ingredients. Whisk in the melted butter, egg, and egg yolk until everything’s smooth and combined. The egg yolk adds richness and keeps the dough tender even after baking.4 Tablespoons Salted Butter, 1 Large Egg, 1 Large Egg Yolk
- Mix the Dough. Add the bread flour and salt. Use a dough hook or a sturdy spoon and mix until you’ve got a shaggy, slightly sticky dough. It won’t look pretty yet. That’s fine.3 Cups Bread Flour, ¾ Teaspoon Salt
- Knead. Knead for 5 to 8 minutes until the dough is smooth, elastic, and slightly tacky but not sticky. If it’s clinging to your hands like glue, add flour one tablespoon at a time. You want dough that can stretch thin enough to see light through it without tearing. That’s the windowpane test, and it means your gluten is fully developed.
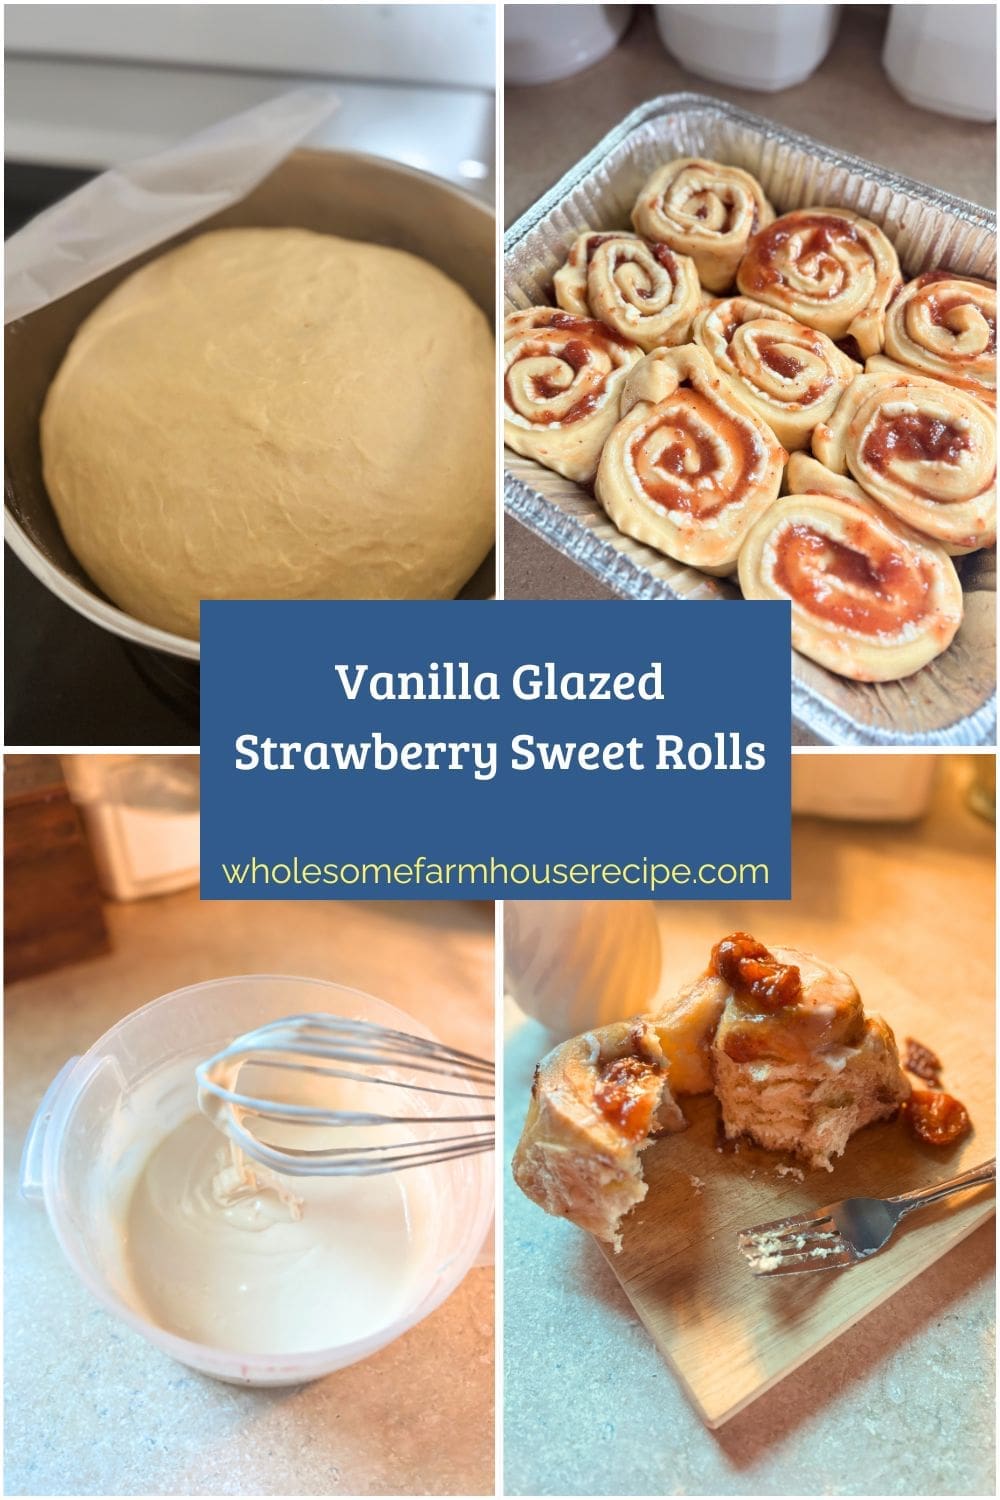
- First Rise. Lightly grease a large bowl with olive oil or cooking spray. Drop the dough in, cover it with a towel or plastic wrap, and let it rise in a warm spot for 1 to 1.5 hours until it doubles in size. If your kitchen is cold, turn your oven to the lowest setting for one minute, turn it off, then stick the bowl in there. This rise is forgiving. If you need an extra 20 minutes, the dough won’t care.Olive oil or cooking spray for greasing the bowl
- Prepare the Filling. While the dough rises, stir together the strawberry jam and cornstarch in a small bowl. The cornstarch thickens the jam so it doesn’t leak out everywhere when you slice the rolls. You want chunky preserves here, not smooth jelly.1 Cup Strawberry Jam, 1 Tablespoon Cornstarch
- Roll Out the Dough. Punch down the risen dough and turn it out onto a lightly floured surface. Roll it into a rectangle about 12 x 15 inches and roughly ¼-inch thick. If the dough keeps shrinking back, let it rest for 5 minutes. It’s not being difficult, the gluten just needs to relax.
- Add the Filling. Spread the softened butter evenly over the dough, leaving about an inch bare along the top long edge. Then spread the strawberry mixture over the butter, making sure the strawberry chunks are evenly distributed. This is messy. Embrace it.4 Tablespoons Salted Butter
- Roll and Cut. Starting from the long side closest to you, carefully roll the dough into a tight log. The jam will try to escape. Let it. Pinch the seam closed as best you can. Use a serrated knife, dough scraper, or unflavored dental floss to cut the log into 12 equal rolls. Floss works because it slices clean without squishing the dough.
- Second Rise. Arrange the rolls in a greased 9 x 13-inch baking dish. They should be close but not touching. Cover and let them rise for 30 to 45 minutes while your oven preheats to 350°F. They should puff up and look soft and pillowy.
- Bake. Bake for 25 to 30 minutes until the tops are lightly golden and the center of the rolls hits about 180°F on an instant-read thermometer. If the tops start browning too fast, tent loosely with foil for the last few minutes. You want golden, not burnt.
- Make the Glaze. While the rolls bake, whisk together the powdered sugar, melted butter, milk, and vanilla until smooth. If you want a thinner glaze that drips into every crevice, add a little more milk.1½ Cups Powdered Sugar, 1 Tablespoon Butter, 2 Tablespoons Milk, ¼ Teaspoon Vanilla Extract
- Glaze and Serve. Let the rolls cool for 5 to 10 minutes, then drizzle the glaze generously over the top while they’re still warm. The heat helps the glaze melt slightly and soak into all the swirls. Serve warm and watch people lose their minds.
Your Own Private Notes
Notes
Tips from the Kitchen
Don’t skip the thermometer check. Underbaked rolls taste doughy in the middle, and nobody wants that. The center of the rolls should read about 180°F when done.- Use Bread Flour, Not All-Purpose: Bread flour has more protein, which means more gluten, which means chewier, sturdier rolls that still stay soft. All-purpose flour works, but your rolls won’t have the same structure or shelf life.
- Weigh Your Flour: If you have a kitchen scale, use it. Measuring by weight is way more accurate than cups, especially with flour. Too much flour makes dense, dry rolls. Too little makes sticky, flat ones.
- Don’t Rush the Rises: Yeast needs time to create flavor and texture. If you rush it, your rolls will taste flat and one-dimensional. If your kitchen is cold, give the dough extra time. It’s not a race.
- Use Dental Floss to Cut Rolls: Slide a piece of unflavored dental floss under the dough log, cross the ends over the top, and pull tight. It slices clean without squishing the dough or dragging the filling everywhere. Knives work, but floss is cleaner.
- Brush the Tops with Butter Before Baking: This isn’t in the recipe, but if you want shiny, golden tops that taste even richer, brush melted butter over the rolls right before they go in the oven. Game changer.
Nutrition
Variations & Swaps
Once you nail the base recipe, you can twist it however you want.
The beauty of this dough is that it’s a blank canvas. Swap the strawberry filling for any other jam, preserves, or fruit spread you love. Change the glaze. Add spices. Turn it into a completely different flavor profile without changing the technique.
- Blueberry Lemon Rolls: Swap strawberry jam for blueberry preserves and add 1 teaspoon of lemon zest to the filling. Use lemon juice instead of milk in the glaze for a bright, tangy finish.
- Raspberry Cream Cheese Rolls: Use raspberry jam and spread a thin layer of softened cream cheese over the butter before adding the jam. The cream cheese melts into the filling and makes everything richer.
- Spiced Apple Cinnamon Rolls: Swap the strawberry jam for apple butter mixed with 1 teaspoon of cinnamon and a pinch of nutmeg. Use a cinnamon cream cheese glaze instead of vanilla.
- Peach Ginger Rolls: Use peach preserves and add ½ teaspoon of ground ginger to the filling. Top with a vanilla glaze spiked with a pinch of fresh grated ginger.
- Brown Butter Glaze: Instead of regular melted butter in the glaze, brown the butter first in a small pan until it smells nutty and turns golden. It adds a deep, caramelized flavor that’s borderline addictive.
You can also make mini rolls by cutting the log into 18 pieces instead of 12 and baking them in a muffin tin. They bake faster and are perfect for portion control, if that’s something you care about.
Storage Tips
These rolls are best warm, but they keep surprisingly well if you store them right.
Let the rolls cool completely, then transfer them to an airtight container. They’ll stay soft at room temperature for up to 2 days. If you want them to last longer, refrigerate them for up to 5 days. The glaze might soak in a bit, but the texture stays good.
To reheat, microwave individual rolls for 15 to 20 seconds or warm the whole pan in a 300°F oven for about 10 minutes. You can also add a fresh drizzle of glaze after reheating to make them look and taste freshly baked.
If you want to freeze them, do it before glazing. Wrap the cooled rolls tightly in plastic wrap, then foil, and freeze for up to 3 months. Thaw overnight in the fridge, reheat, then glaze. They’ll taste just as good as the day you baked them.
Don’t store them uncovered. The tops will dry out and get hard, and nobody wants to eat a stale roll.
These rolls are the kind of recipe you’ll make over and over once you realize how easy they are.
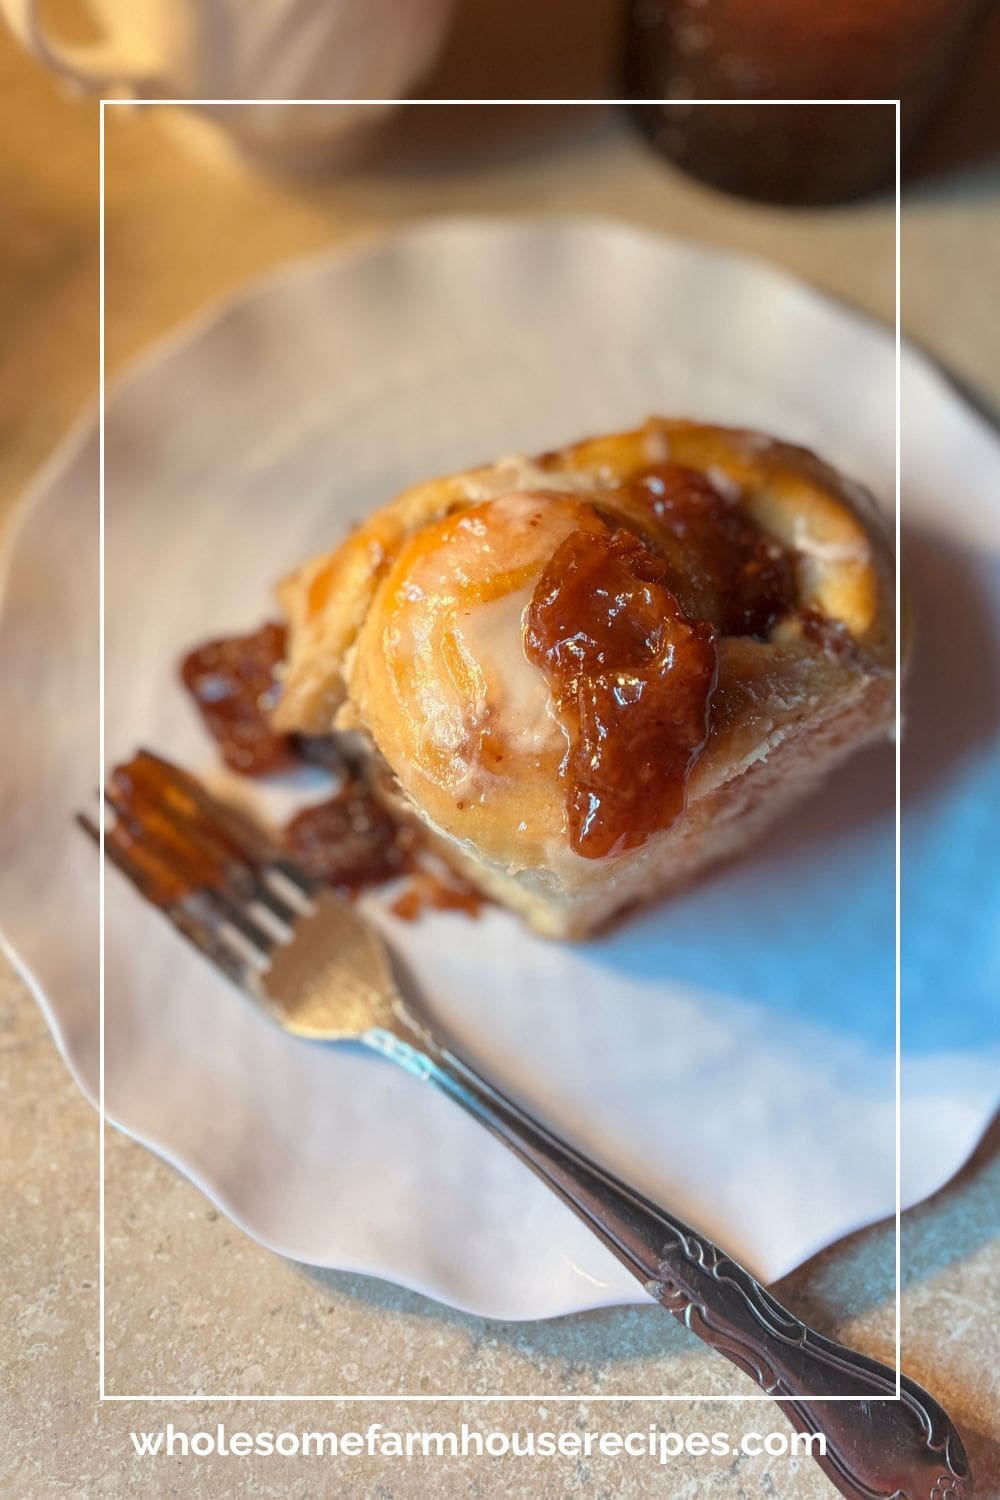
Freshly Baked Strawberry Sweet Rolls for the Win
The dough is forgiving. The filling is adaptable. And the glaze makes everything taste like you spent hours in a professional kitchen. Make them for breakfast, brunch, or just because your house smells better with fresh-baked rolls in it.
Once strawberry season arrives, I find myself looking for every excuse to bake with fresh berry flavors.
This is where the magic happens, and honestly, it’s way less stressful than you’d expect.
You’re building a dough that’s soft but structured, jammy filling that won’t turn your rolls into a crime scene, and a glaze that makes everything taste like it came from a fancy bakery. Each step has a reason, and once you see how it all comes together, you’ll wonder why you ever bought those sad tubes of pre-made rolls.


Even better when you make this with fresh picked strawberries.
Even better with freshly picked strawberries.