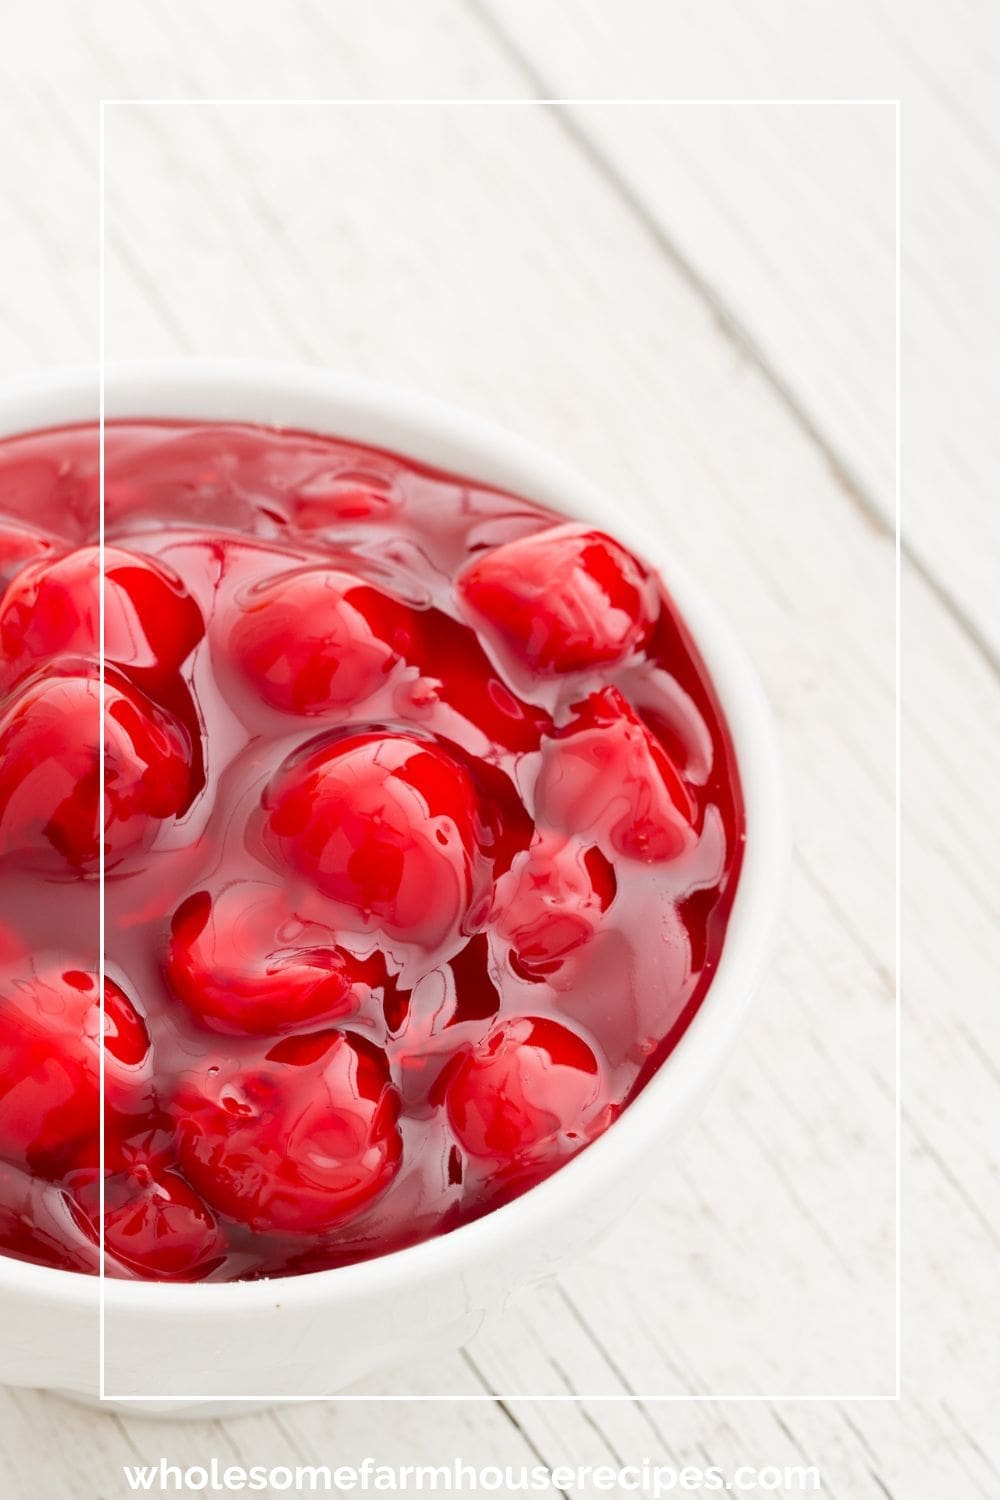
This recipe makes the best cherry pie filling every time. It’s thick, glossy, packed with bold cherry flavor, and perfect for everything from classic pies to cherry pie bars and cheesecakes.
There’s nothing quite like the sweet scent of a homemade cherry pie baking in the oven. Whether you’re using fresh cherries from your own cherry trees or a bag of frozen cherries.
❤️ Easy Thick Homemade Cherry Pie Filling
Works with fresh or frozen cherries
No more store-bought cans with mystery ingredients
Makes enough for one 9-inch pie shell with top crust or lattice crust
Delicious on yogurt parfaits, cheesecake, or cherry turnovers
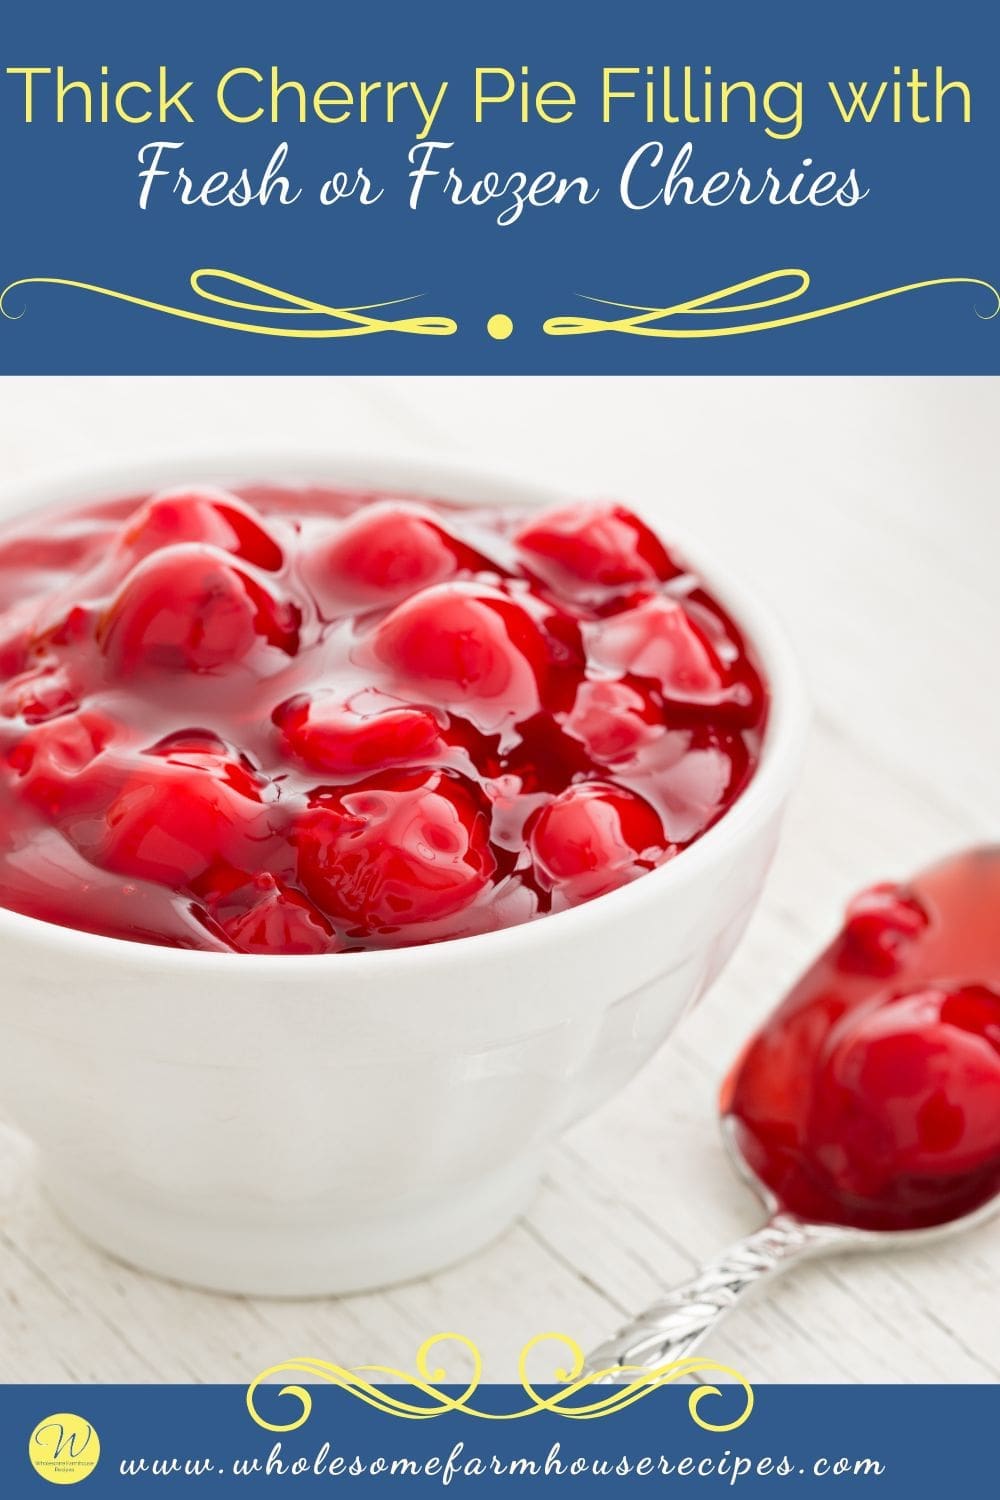
The easiest way to make a thick, glossy, flavorful homemade pie filling

Thick Cherry Pie Filling with Fresh or Frozen Cherries
As an Amazon Associate I earn from qualifying purchases.
Kitchen Essentials

Ingredients
- 5 Cups Pitted Cherries about 2–2.5 lbs; fresh tart cherries, bing cherries, or dark sweet cherries
- ¾ Cup Granulated Sugar adjust amount of sugar to taste. Less sugar for sweet cherries, more for tart.
- ¼ Cup Corn Starch or use tapioca starch/tapioca flour
- 2 Tablespoons Lemon Juice balances sweetness and preserves cherry juice color
- ½ Teaspoon Almond Extract or a dash of vanilla
- Pinch Salt
- Optional: ¼ cup water if using cherries that aren’t very juicy
Instructions
Preparing the Cherries
- The hardest part of this recipe is pitting cherries. But don’t worry, you’ve got options5 Cups Pitted Cherries
- Use a cherry pitter or the blunt end of a chopstick, metal straws, a piping tip, or even a paper clip.
- Slice around with a paring knife or sharp knife if needed.
- Place pitted cherries in a large bowl to catch any extra cherry juice.
- Side note. For frozen cherries, let them thaw to room temperature and drain off much liquid before starting the recipe. Also, they shouldn’t need pitting. Double check the container if purchased.
How to Make the Filling
- In a large saucepan or small saucepan, combine the pitted cherries, lemon juice, and sugar mixture over medium heat.¾ Cup Granulated Sugar, 2 Tablespoons Lemon Juice
- Stir occasionally as the cherries release their cherry juice.
- In a separate bowl, whisk the corn starch with a few tablespoons of water to make a slurry.¼ Cup Corn Starch, Optional: ¼ cup water if using cherries that aren’t very juicy
- Slowly stir the slurry into the hot cherry mixture. Reduce to low heat and continue to cook until the filling thickens, about 5–8 minutes.
- Remove from heat and stir in the almond extract and salt.Pinch Salt, ½ Teaspoon Almond Extract
- Tip. Use a spoon to lift cherries out and check the thickness of the sauce. It should coat the back of the spoon.
Your Own Private Notes
Notes
Cooling and Storing
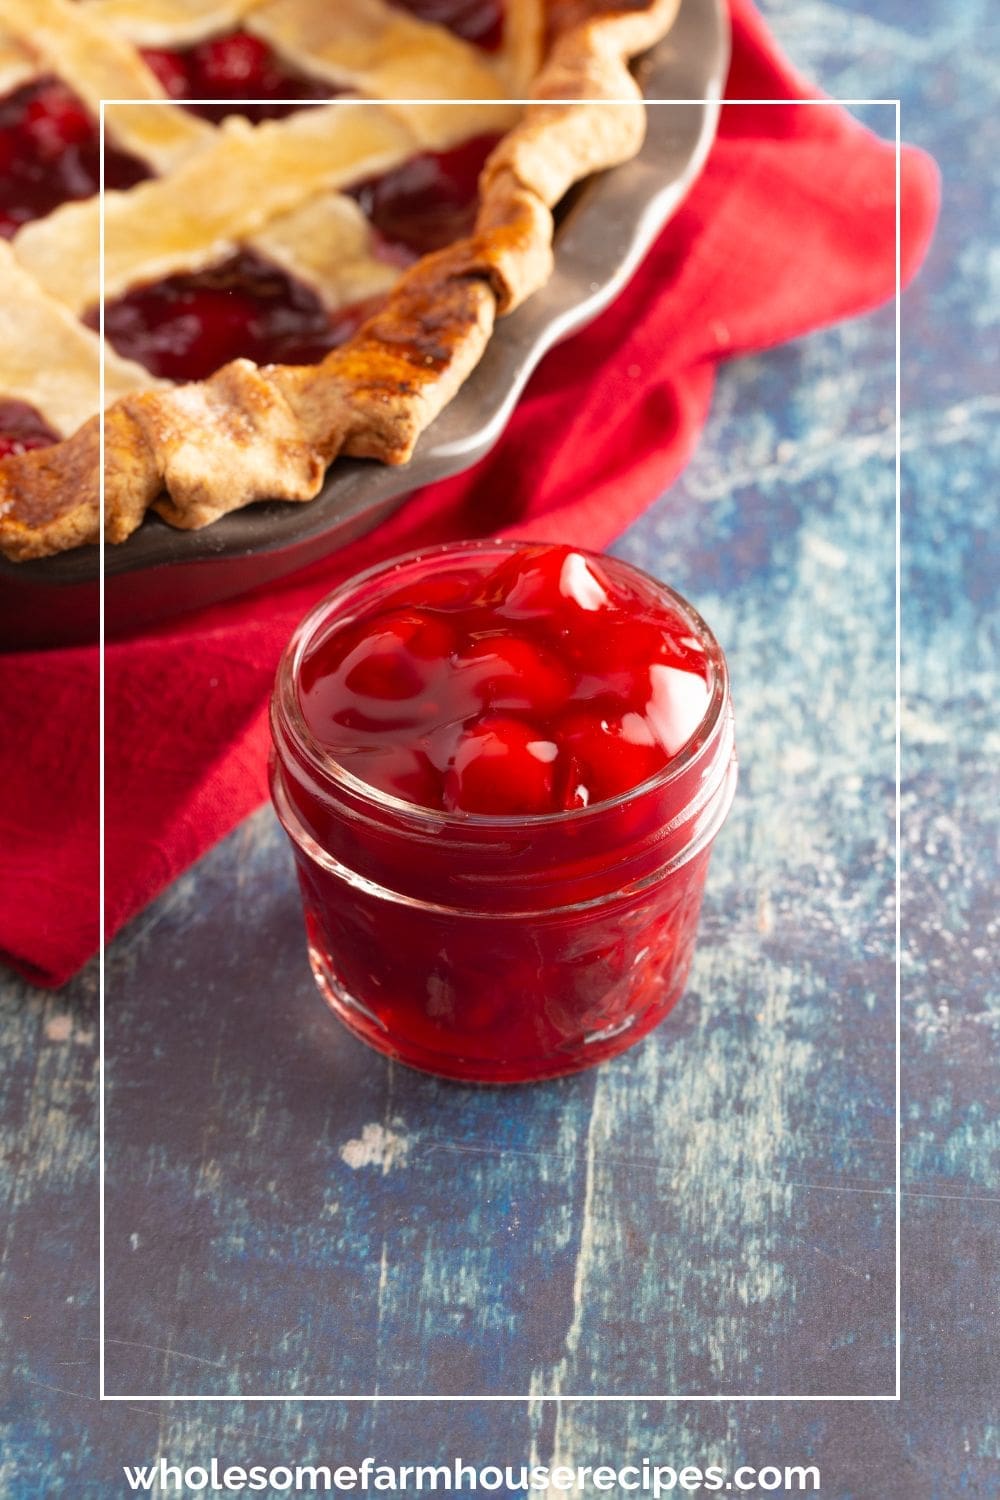
Let the cooled pie filling sit until it reaches room temperature. Transfer to a mason jar or airtight container and refrigerate for up to 5 days. You can also freeze it for up to 3 months.Nutrition
🥧 How to Use This Homemade Cherry Pie Filling
- Pour into a homemade pie crust or store-bought pie shell, add a top crust, and bake until golden brown on the middle oven rack.
- Swirl into cheesecake batter or layer into a cherry cheesecake.
- Spoon over vanilla ice cream or layer in a yogurt parfait.
- Use in fruit pies, cherry cobblers, or as a filling for pastries.
🥧 Do I Need to Par-Bake the Crust for This Cherry Pie?
Good news, you don’t have to par-bake your bottom crust for this cherry pie. This easy cherry pie is designed to bake all at once.
However, if you’re using a homemade pie crust and want a super flaky bottom crust, here are a few tips.
- Use a glass pie dish so you can monitor how golden the bottom crust gets.
- For very juicy pies (especially with frozen cherries), you can par-bake the crust for 10 minutes if you’re worried about sogginess. Sprinkle a little tapioca starch or brush the crust with egg white before filling to create a barrier.
🔥 Baking Tips for the Perfect Cherry Pie
- Bake filled pie at 400°F oven temperature for 40–45 minutes or until the top crust is golden brown.
- Shield edges with aluminum foil halfway through to prevent over-browning.
- Let the cool pie sit for at least 2 hours before slicing to let the filling set.
Can I use Rainier cherries or a mix?
Yes! Rainier cherries add a lovely color and flavor contrast when mixed with fresh tart cherries or dark sweet cherries.
How much filling does this recipe make?
This makes enough for one 9-inch pie or a batch of cherry pie bars. You can scale it up easily—just keep the ratios the same.
Can I use this filling for other fruit pies like apple pie?
The method works great for apple pie, too—just swap in sliced apples and adjust sugar and thickener.
What’s the best thickener: cornstarch, tapioca starch, or flour?
For best results, use corn starch for a classic thick cherry filling. Tapioca starch makes a shinier, clearer filling.
Get cherries when they are in season and make some pie filling. It freezes well and if you are into canning, it will last even longer. We’re lucky to have frozen cherries at our local grocery store so we can make this throughout the year. It’s a great for a dessert with loads of homemade flavor.


My family loved this!