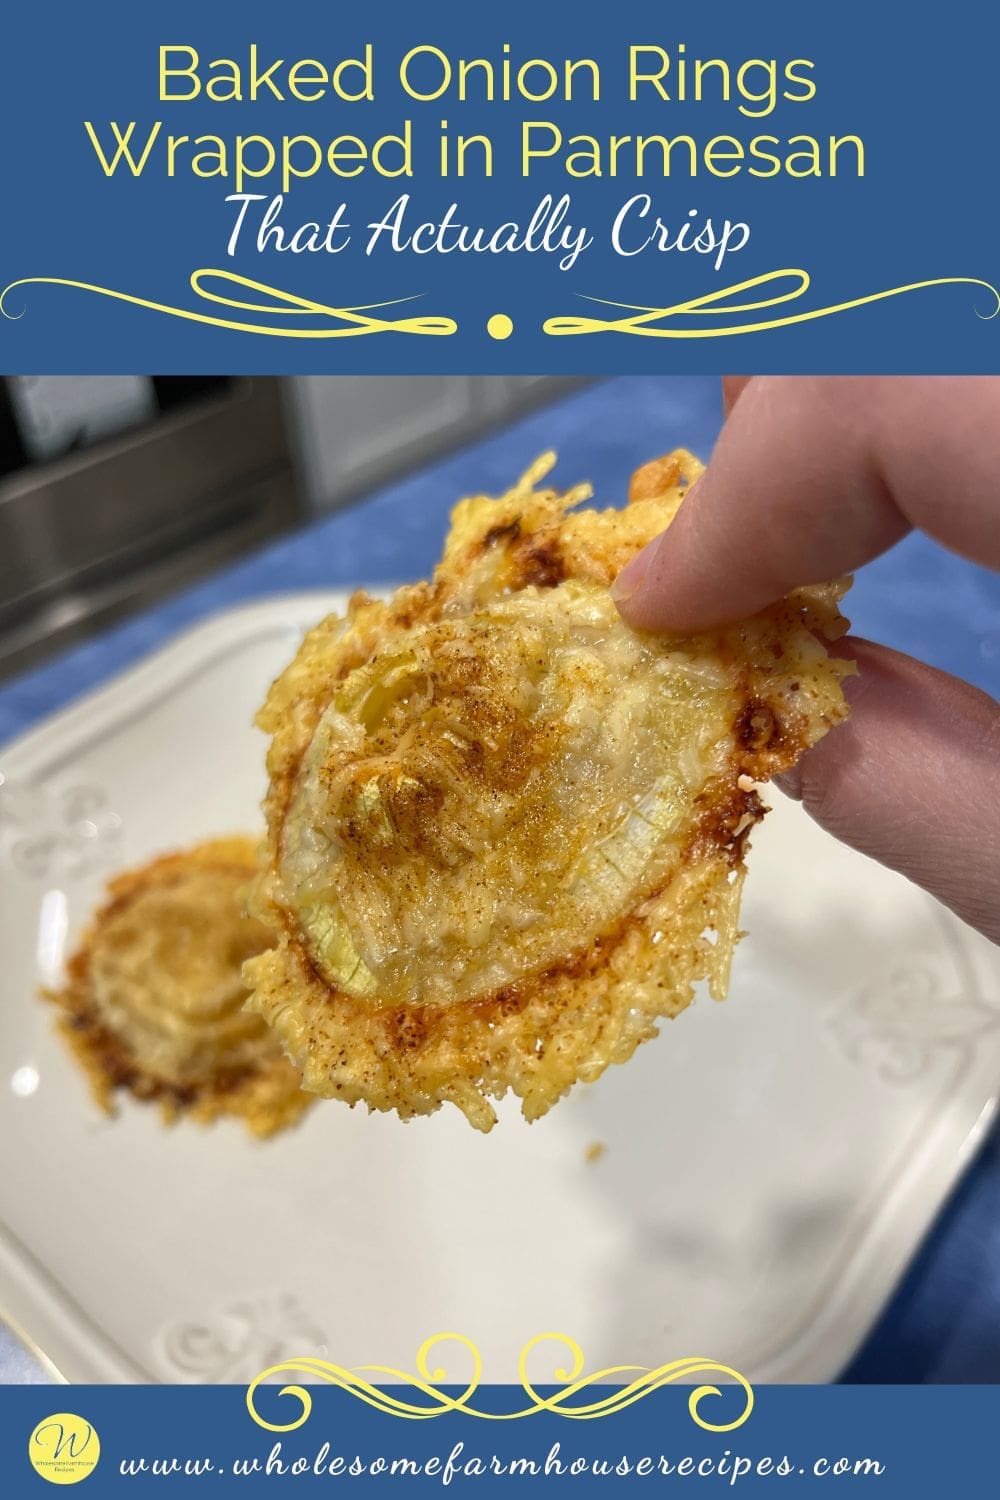
These baked onion rings wrapped in Parmesan cheese turn into crispy, golden shells. Think baked means soggy? Not here.
You know that moment when you want something crunchy, salty, and completely snackable but the idea of deep frying anything makes you want to nap instead?
This recipe is the answer. No batter, no breadcrumbs, no vat of oil turning your kitchen into a hazmat zone. Just onions, cheese, and a hot oven that does the heavy lifting while you sit back and wait for the magic to happen.
The cheese melts around each onion slice, crisps up into a golden shell, and practically shatters when you bite into it. It is shockingly satisfying for something this simple.
Basically, if you have 15 minutes and a baking sheet, you are about to make onion rings that feel like a cheat code.
Why This Recipe Works
This is not your standard onion ring situation, and that is exactly why it works.
The whole concept flips the script. Instead of coating onions in batter or breadcrumbs and praying they crisp up in the oven, you are using cheese as the coating.
Here is why the technique delivers:
- Cheese crisps predictably. When Parmesan hits high heat on a flat surface, it renders its fat, browns its proteins, and turns into a crispy frico-style wafer. You are not hoping for crunch, you are engineering it.
- No oil means no sogginess. Baked onion rings usually fail because breadcrumbs do not crisp without fat, and adding oil makes them greasy. Here, the cheese supplies its own fat as it melts and crisps.
- The broiler is the finisher. Baking alone gets you halfway there. The broiler at the end caramelizes the cheese into that deep golden color and adds the final layer of crackle.
- Seasonings stick because they hit wet cheese. Garlic powder and paprika go on while the cheese is still melty, so they bond to the surface instead of falling off like they would on dry breadcrumbs.
The ratio matters too. A heaping tablespoon of cheese per side gives you enough coverage without creating a thick, chewy layer. You want lacy and crisp, not dense and rubbery. This balance keeps the texture light and lets the onion flavor come through instead of drowning in dairy.
Making these onion rings is more about the setup than anything complicated, so take your time with the first few and the rest will fly.

Baked Onion Rings Wrapped in Parmesan That Actually Crisp
As an Amazon Associate I earn from qualifying purchases.
Kitchen Essentials

Ingredients
- 1 1/2 Cups Parmesan Cheese shredded (or your favorite shredded cheese)
- 2 Medium Yellow Onions sliced
- 1 Teaspoon Garlic Powder
- 1 Teaspoon Paprika
- ¼ Teaspoon Salt or to taste
- Cooking Spray
Instructions
Step-by-Step Instructions
- Preheat your oven to 400 degrees. You want it fully hot before the cheese hits the pan so it starts crisping immediately instead of just melting into a puddle.
- Slice your onions into 1/4-inch-thick rounds. Too thin and they will overcook before the cheese crisps. Too thick and they will stay crunchy-raw in the center while the cheese burns. A quarter inch is the sweet spot. Separate the rings gently but keep the smaller inner rings for snacking or another use since they are harder to work with here.2 Medium Yellow Onions
- Line a baking sheet with parchment paper or a silicone mat. This is non-negotiable. Trust me, I’ve learned that the cheese will stick to bare metal and you will lose half your work when you try to peel them off. Spray with a bit of cooking oil.Cooking Spray
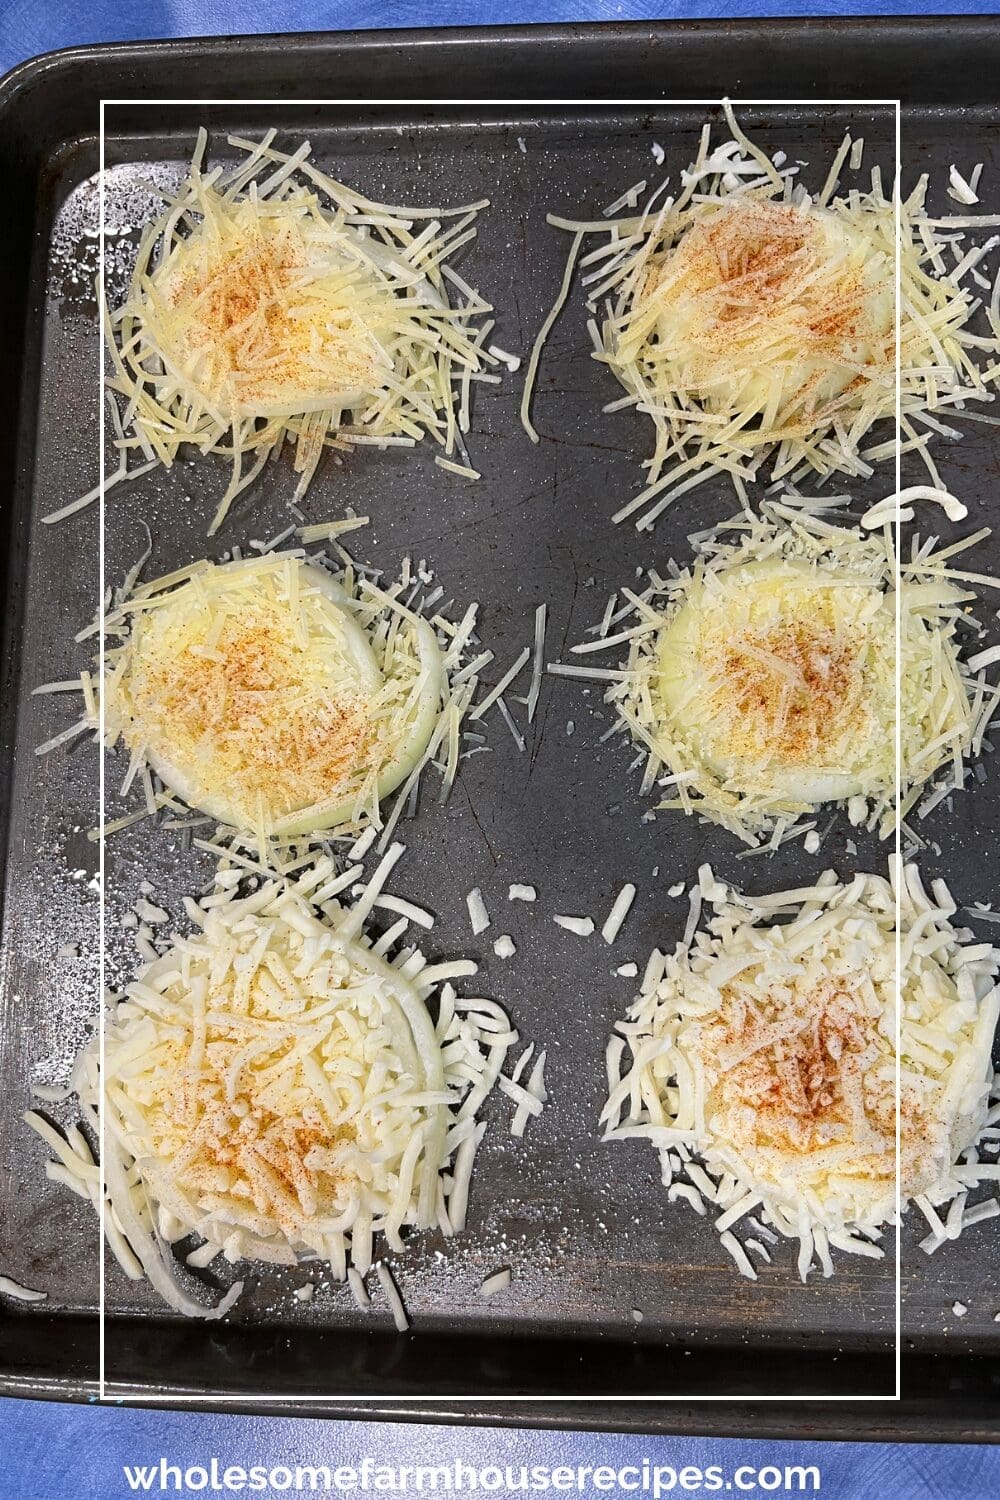
- Spoon about a heaping tablespoon of shredded Parmesan onto the baking sheet. Spread it into a rough circle that is about the size of your onion slice. Do not pack it down. Let it sit loose so air can circulate and crisp the edges.1 1/2 Cups Parmesan Cheese
- Place an onion ring directly on top of the cheese pile. Press it down gently so it makes contact, but do not smash it. You want the cheese to grab the onion, not ooze out from under it.
- Add another heaping tablespoon of cheese on top of the onion. Make sure it connects with the bottom layer of cheese around the edges. This is what creates the sealed shell. If there are gaps, the cheese will not fuse and you will end up with a floppy ring.
- Repeat with the remaining onion slices. Give each pile a little space on the pan so they do not melt into each other. You want individual onion rings, not a cheese-onion casserole.
- Sprinkle the garlic powder, paprika, and salt evenly over the tops. Do this now while the cheese is still loose. Once it melts and re-hardens, seasonings will not stick.1 Teaspoon Garlic Powder, 1 Teaspoon Paprika, ¼ Teaspoon Salt
- Bake for 12 to 15 minutes. You are watching for the cheese to fully melt and start browning at the edges. The timing depends on your oven and how thick your cheese layer is, so check at the 12-minute mark. If the cheese is melted but still pale, give it a few more minutes.
- Switch to the broiler on low. This is the move that takes them from good to incredible. Broil for 2 to 4 minutes, watching closely, until the cheese turns deep golden brown with crispy, lacy edges. Do not walk away during this part. The broiler moves fast and the line between perfectly golden and burned is about 30 seconds.
- Let them cool on the pan for at least 5 minutes. This is when the cheese hardens into that crispy shell. If you try to pick them up too soon, they will be floppy and the cheese will tear. Patience here pays off big.
- Use a thin spatula to lift them off the pan. Slide it under gently. If they are fully cooled and crisped, they should release cleanly. If one sticks, let it cool another minute.
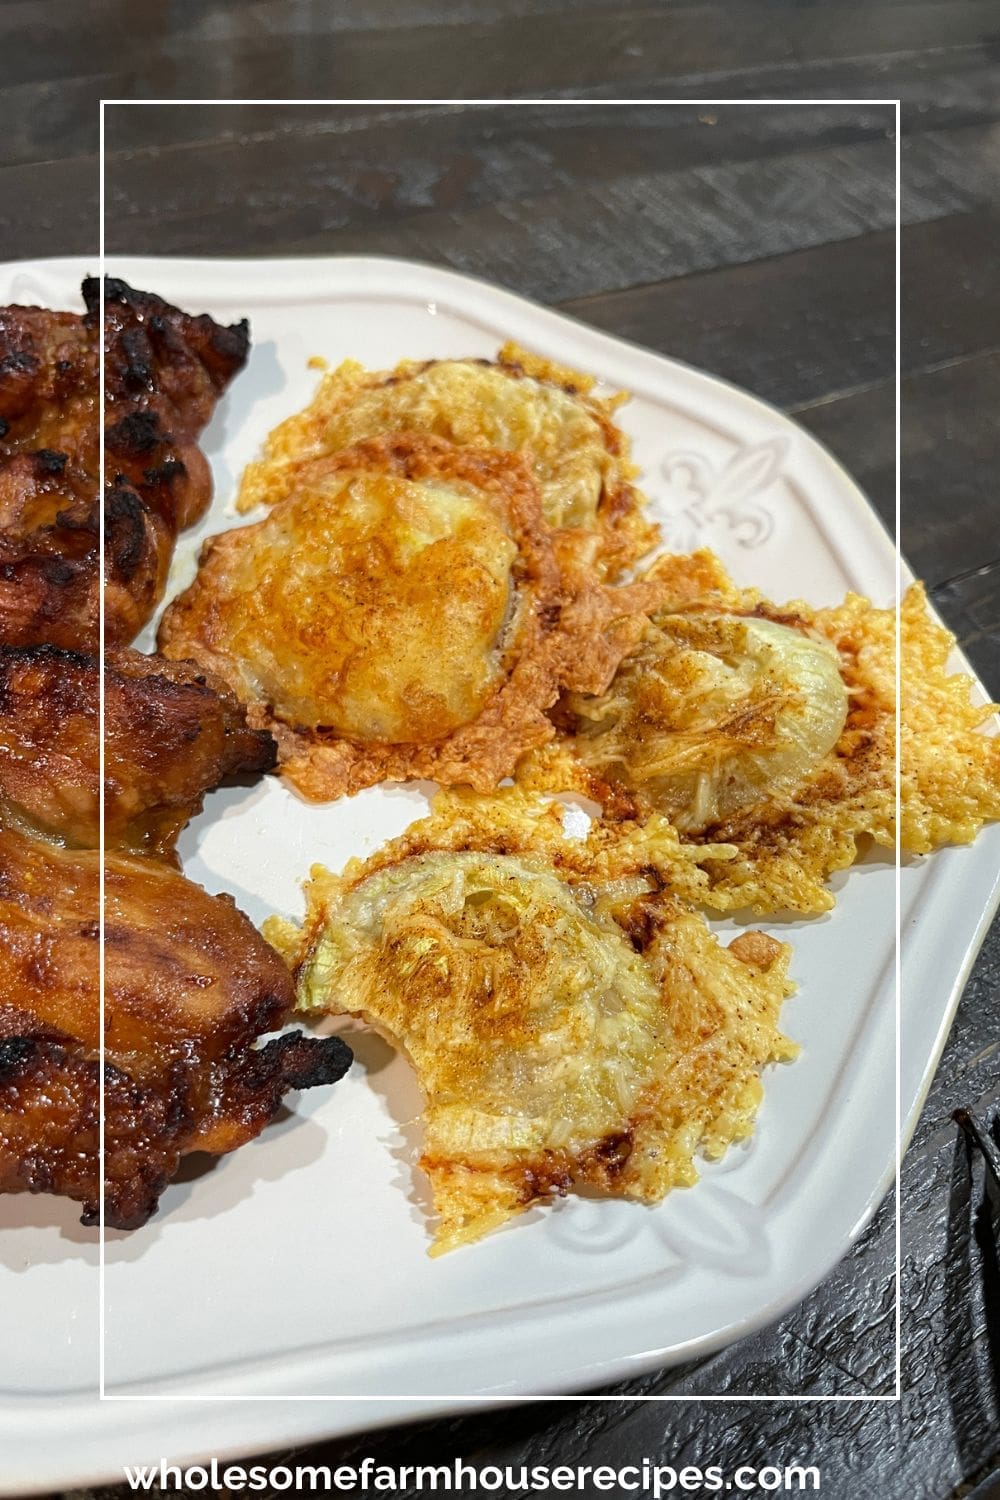
- Serve them as is or with your favorite dipping sauce. They are ridiculously good still slightly warm when the cheese is at peak crispness and the onion inside is tender and sweet.
Your Own Private Notes
Nutrition
A Few Tips for Success
These small tweaks separate the home cook version from the version that makes people ask for the recipe twice.
Use the smallest holes on your grater if you are shredding your own Parmesan. Finely shredded cheese melts faster and more evenly, which means it crisps uniformly instead of creating thick clumps that stay chewy. Pre-shredded is fine, but avoid the stuff coated in cellulose powder. It does not melt the same way and you will get a grainy texture instead of smooth, crispy cheese.
Do not skip the parchment or silicone mat. Even on a non-stick pan, cheese will bond to metal when it cools. Parchment is your release agent. If you are out of both, you can use aluminum foil lightly sprayed with cooking spray, but parchment is better because it does not conduct heat as aggressively, so you get less risk of burning the bottom before the top crisps.
Broil in batches if your oven has hot spots. Most home broilers heat unevenly. If you know your oven burns one side faster, rotate the pan halfway through broiling or do half the rings at a time. Burned cheese tastes bitter and ruins the whole thing, so better to go slow than to torch a batch.
Add a pinch of cayenne to the seasoning mix if you want a little heat. The paprika gives color but not much kick. A small pinch of cayenne wakes everything up without making it spicy. You just want a subtle warmth that plays against the richness of the cheese.
Use yellow onions, not sweet onions. Sweet onions have more water content and less sulfur bite, which sounds good in theory but makes them limp and bland after baking. Yellow onions hold their structure better and give you that sharp, savory contrast against the cheese. Red onions work too if you want a slightly milder, prettier ring, but skip the Vidalias.
Do all of this and your onion rings will have that professional-level crispness and flavor balance that makes people think you have been making these for years.
Pairing Suggestions
These onion rings beg for bold, tangy, or creamy dips that can stand up to the salty richness of the Parmesan shell.
Ranch dressing is the obvious MVP here. The cool, herbaceous creaminess cuts through the cheese and complements the sweetness of the baked onion. Make it from scratch if you are feeling ambitious. Buttermilk, mayo, sour cream, fresh dill, garlic powder, and a squeeze of lemon. It takes five minutes and tastes nothing like the bottled stuff.
Spicy aioli is the move if you want a little heat. Mix mayo with minced garlic, a squeeze of lemon, and a spoonful of sriracha or your favorite hot sauce. The fat in the mayo mellows the spice just enough, and the garlic bridges the gap between the onion and the cheese.
Blue cheese dressing works if you are into intense flavors. The funk of blue cheese loves the caramelized, nutty notes in baked Parmesan. It is a lot, but if you are already team blue cheese, you know this pairing slaps.
For drinks, go with something crisp and refreshing. A cold lager or pilsner is ideal because the carbonation and mild bitterness cleanse your palate between bites. If you are pouring wine, try a dry Riesling or an unoaked Chardonnay. Both have enough acidity to cut the richness without overpowering the dish. A gin and tonic with extra lime also works beautifully, especially if you are serving these as a cocktail snack.
These are not dainty appetizers, so pair them with drinks and dips that match their bold, snackable energy.
Variations & Swaps
This base recipe is a template you can bend in about a dozen directions without breaking it.
Swap Parmesan for aged Gruyère or sharp white cheddar. Gruyère gives you a nuttier, slightly sweeter flavor and crisps just as well. White cheddar brings more sharpness and a little more chew, which some people prefer. Avoid pre-shredded cheddar blends with added starches since they do not melt cleanly. If you are using a softer cheese, mix it half-and-half with Parmesan so you still get the crisp factor.
Add everything bagel seasoning instead of garlic powder and paprika. This gives you sesame seeds, poppy seeds, dried garlic, dried onion, and salt all in one go. It is a completely different vibe but weirdly perfect with the cheese-and-onion combo.
Try shallots instead of onions for a fancier, milder version. Shallots are sweeter and more delicate, and they cook faster. Slice them the same thickness and follow the same process. You will get a more elegant appetizer that feels a little more grown-up.
Make them spicy by mixing red pepper flakes into the cheese before you spoon it onto the pan. The flakes get toasted as the cheese crisps, which amplifies their heat. Go light at first because a little goes a long way once it is baked in.
Turn them into onion rings with herbs. Add finely chopped fresh rosemary, thyme, or oregano to the cheese before baking. The herbs crisp up along with the cheese and add a savory, aromatic layer that pairs beautifully with the onion. Dried herbs work too, but fresh gives you more flavor.
Go fully keto-friendly by keeping the recipe exactly as is. It is already low-carb and high-fat, so it fits perfectly into keto meal plans. Serve with a keto-friendly dip like avocado ranch or bacon aioli and you have a snack that does not feel like a compromise.
Every variation keeps the core technique intact, so you are still getting that crispy cheese shell and tender onion center no matter which direction you take it.
Storage Tips
These onion rings are best eaten fresh, but you can hang onto leftovers if you treat them right.
Store them in an airtight container in the fridge for up to three days. Let them cool completely before sealing them up or condensation will make the cheese soggy. Layer them between sheets of parchment paper so they do not stick to each other.
Reheat them in the oven or toaster oven, never the microwave. The microwave will make the cheese rubbery and limp. Preheat your oven to 375 degrees, spread the rings on a baking sheet in a single layer, and bake for 5 to 7 minutes until the cheese crisps back up. If they need extra help, hit them with the broiler for a minute at the end.
You can freeze them, but the texture will not be quite the same. Freeze them in a single layer on a baking sheet until solid, then transfer to a freezer bag. They will keep for about a month. Reheat from frozen in a 400-degree oven for 10 to 12 minutes, finishing with a quick broil. They will still be good, just not as shattering-crisp as the fresh batch.
If you are making these for a party, bake them as close to serving time as possible. They hold their crispness for about an hour at room temperature, which gives you a little wiggle room, but after that the cheese starts to soften.
Leftover Transformations
If you somehow have leftover onion rings, and that is a big if, there are a few smart ways to repurpose them instead of just reheating and eating them solo.
Chop them up and toss them into a salad. They work like crispy, cheesy croutons. Add them to a simple green salad with a tangy vinaigrette and they bring texture and tons of flavor. Arugula, shaved Parmesan, lemon juice, olive oil, and chopped onion rings is an incredibly satisfying lunch.
Layer them into a breakfast sandwich. Put a fried egg, some bacon or sausage, and a couple of reheated onion rings between a toasted English muffin or bagel. The creamy yolk, salty meat, and crispy cheese-onion situation is next-level good.
Use them as a topping for baked potatoes or loaded fries. Crumble the rings over the top along with sour cream, chives, and bacon bits. You are basically making onion ring nachos, and it works shockingly well.
Add them to a grain bowl for crunch. If you are building a bowl with quinoa, roasted veggies, and a protein, throw a couple of chopped onion rings on top for texture. They add a salty, savory punch that makes the whole thing more interesting.
Leftovers might not have the same shock-and-awe crispness as fresh rings, but they still carry plenty of flavor and can absolutely earn their place in another dish if you get creative.
These cheesy onion rings are proof that the best recipes are not always the most complicated ones. Sometimes all you need is great technique, a hot oven, and ingredients that know how to do the work for you. Make a batch, watch them disappear, and then make another one because you will want them again tomorrow.


My family loved this!