Last updated on March 20th, 2026 at 11:36 am
Yesterday I stopped by my sister’s house, and she was in the middle of making a big batch of these Peanut Butter Cookie Cups with her grandchildren. The whole kitchen smelled like warm peanut butter and melted chocolate. One of those scents takes you right back to childhood.
I hadn’t made these little cookie cups in a few years, but she sent some home with me, and my family devoured them before I even had a chance to put them on a plate. That was my reminder that these need to go right back on my holiday baking list. Some recipes are just timeless, and this is definitely one of them.

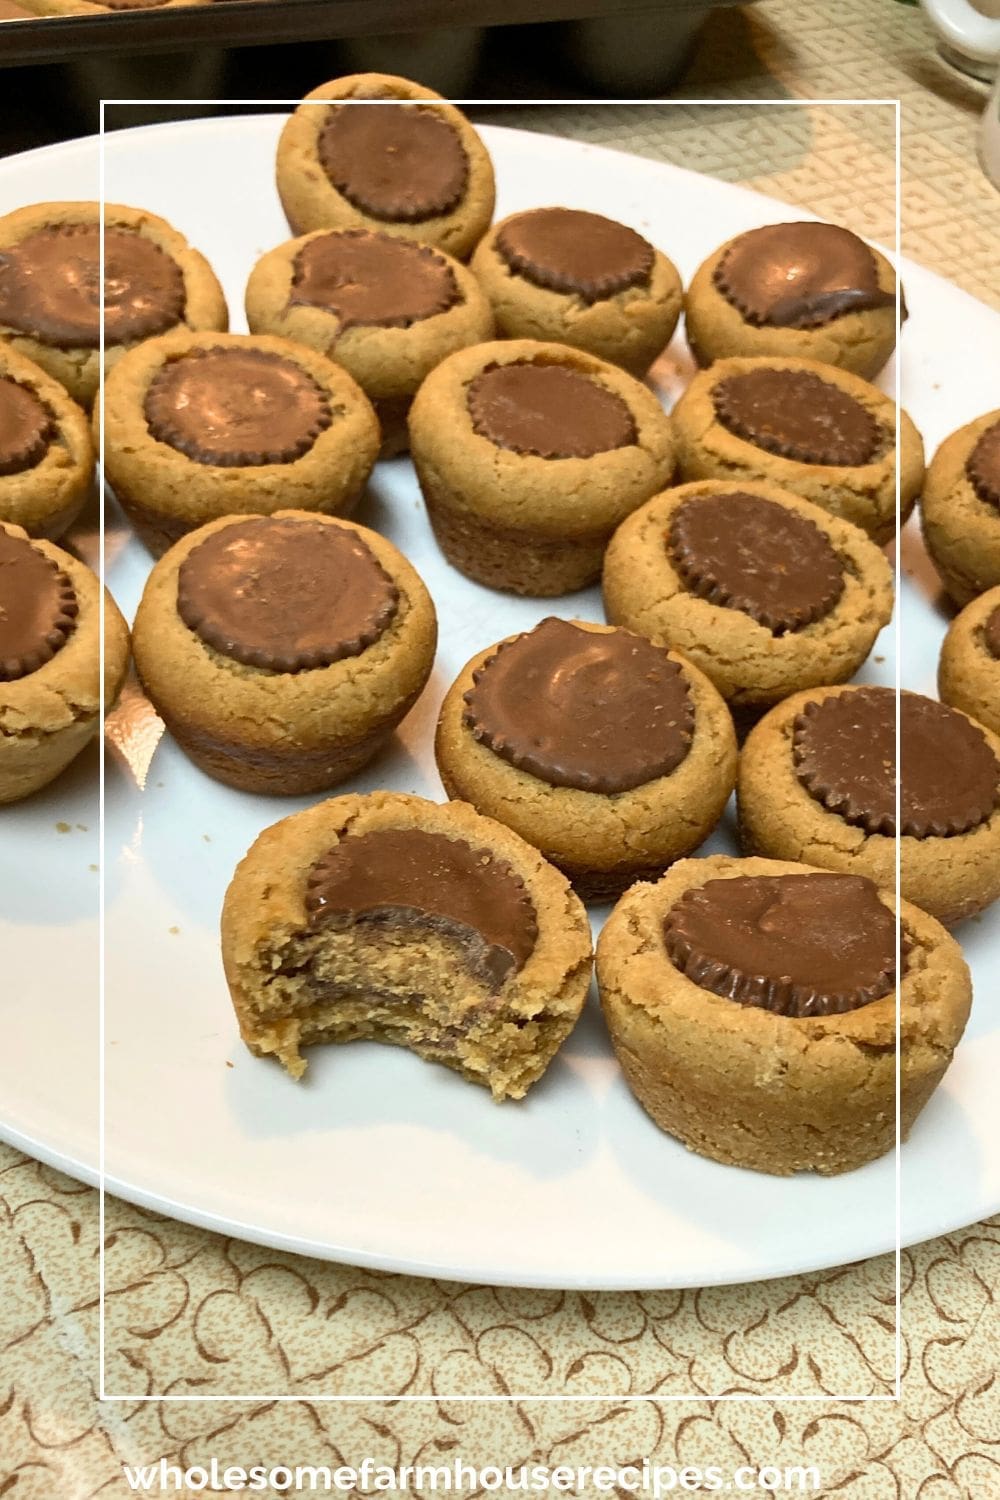
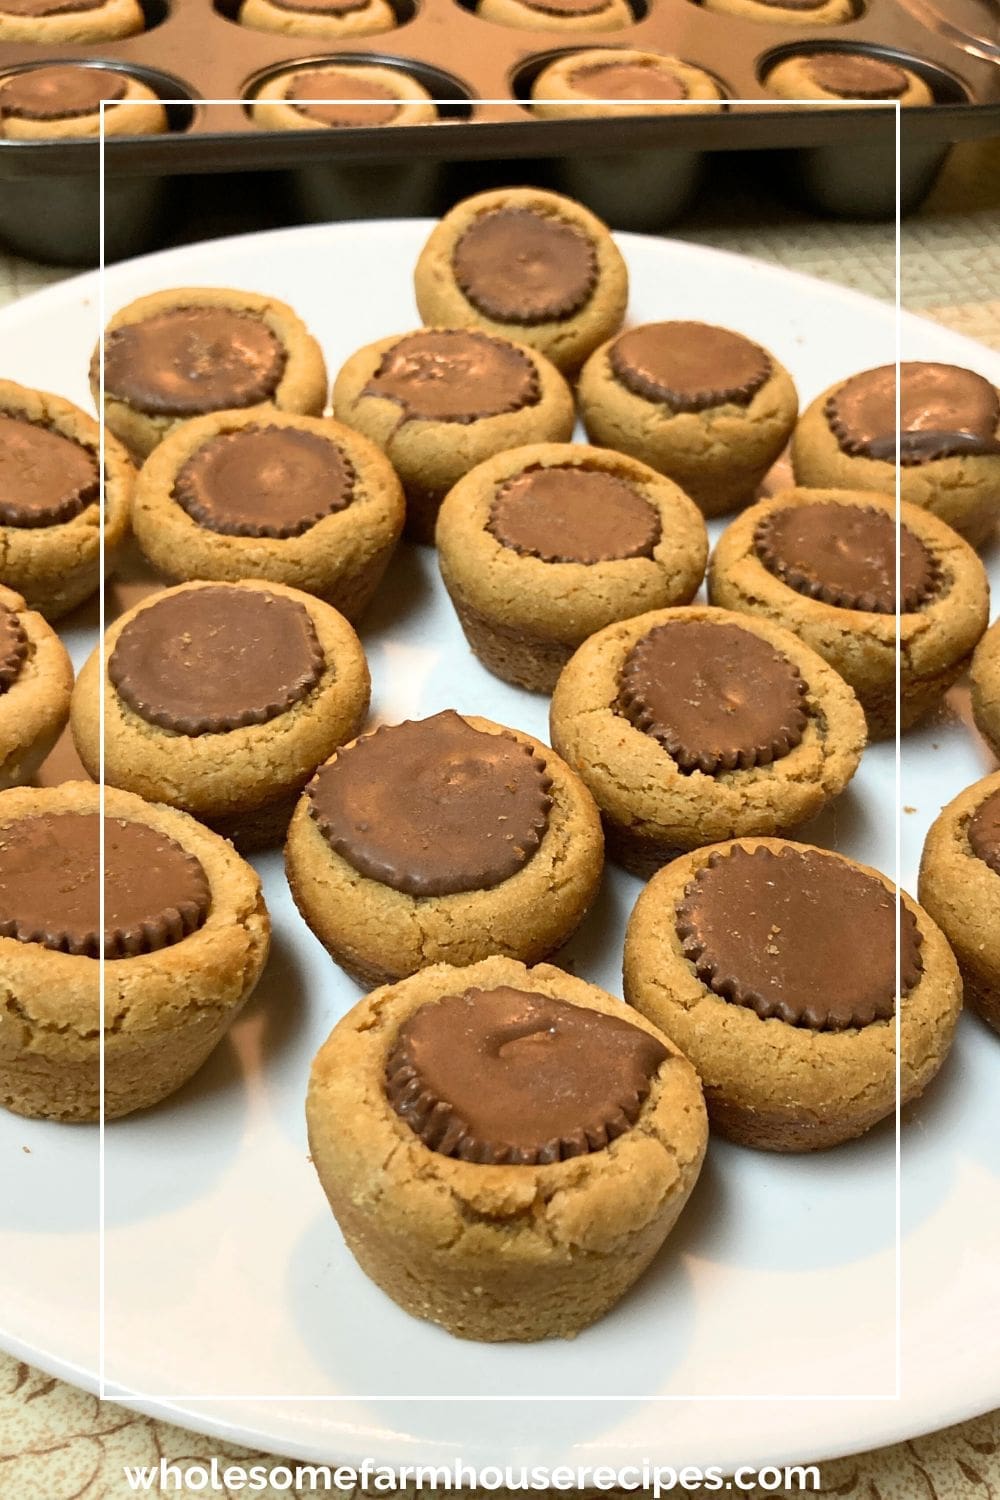
Sometimes the simplest recipes are the ones that bring the most joy. And these Peanut Butter Cookie Cups are proof of that. Soft, chewy, and filled with miniature peanut butter cups, they’re the kind of cookie that disappears fast.
Perfect for after-school snacks, holiday cookie trays, or a cozy weekend in the farmhouse kitchen, these little cookie cups are a family favorite for good reason.

Irresistible Peanut Butter Cookie Cups Recipe
As an Amazon Associate I earn from qualifying purchases.
Kitchen Essentials

Ingredients
- 1/2 Cup Sugar
- 1/2 Cup Brown Sugar firmly packed brown sugar
- 1/2 Cup Butter softened
- 1/2 Cup Creamy Peanut Butter
- 1 Large Egg
- 1/2 Teaspoon Vanilla Extract
- 1 1/4 Cups All-Purpose Flour
- 3/4 Teaspoon Baking Soda
- 1/4 Teaspoon Salt
- 13 Ounces Miniature Peanut Butter Cups 1 (13-ounce) package miniature peanut butter cups, unwrapped
Instructions
- Preheat the oven to 350°F and lightly spray a mini muffin pan with nonstick cooking spray.
- In a large bowl, beat together the sugars, butter, and peanut butter until creamy. Add the egg and vanilla, mixing well. Beat in the flour, baking soda, and salt on low speed until combined.1/2 Cup Sugar, 1/2 Cup Brown Sugar, 1/2 Cup Butter, 1/2 Cup Creamy Peanut Butter, 1 Large Egg, 1/2 Teaspoon Vanilla Extract, 1 1/4 Cups All-Purpose Flour, 3/4 Teaspoon Baking Soda, 1/4 Teaspoon Salt
- Roll the dough into 1-inch balls and place one in each muffin cup. Bake 11–13 minutes until lightly golden.
- Check the cookies at 11 minutes. The tops should look set and lightly golden. The edges should be just firm while the centers stay soft. They’ll continue to firm up as they cool in the pan.
- Time-saving tip. Unwrap the miniature peanut butter cups while the cookies are baking.13 Ounces Miniature Peanut Butter Cups
- Remove from the oven and immediately press a miniature peanut butter cup into the center of each cookie.
- Let cool in the pan for at least 30 minutes so the cookies firm up. Carefully remove with a teaspoon or small spatula.
Your Own Private Notes
Notes
Tips for Perfect Cookie Cups
- Watch baking time carefully. Cookies are done when lightly golden on top but still soft in the middle.
- Cool in the pan 30 minutes. It helps the cookies hold their shape.
- Use a teaspoon to remove. It makes it easier to lift cookie cups without breaking.
- Check the cookies at 11 minutes. The tops should look set and lightly golden. The edges should be just firm while the centers stay soft. They’ll continue to firm up as they cool in the pan.
Nutrition
Should I Sift the Dry Ingredients?
You don’t have to, but sifting your flour, baking soda, and salt can help create lighter, more tender cookie cups. It also ensures there are no lumps and that the leavening and salt are evenly mixed. If you skip sifting, just be sure to whisk the dry ingredients together thoroughly before adding them to the wet mixture. Either method works. The cookies will still be soft, chewy, and full of peanut butter goodness.
Variations & Fun Ideas
- Chocolate drizzle for a festive touch.
- White chocolate peanut butter cups for variety.
- Sprinkles for holidays or birthdays.
- Caramel-filled candies instead of peanut butter cups.
- Crunchy peanut butter for added texture.
Storage & Make-Ahead Tips
- Make-ahead: Shape dough and refrigerate for up to 48 hours before baking.
- Storage: Keep cooled cookie cups in an airtight container for 4–5 days.
- Freezing: Freeze baked and cooled cookie cups for up to 3 months. You can also freeze shaped cookie dough balls for later baking.
Can you freeze the dough?
Yes! Shape into 1-inch balls, freeze on a baking sheet until firm, then store in an airtight bag. Bake straight from frozen, adding 1–2 minutes to baking time.
Can I freeze peanut butter cookie cups?
Yes! These cookie cups freeze beautifully. Once cooled, freeze them on a baking sheet for an hour, then store in an airtight freezer bag for up to 3 months. Thaw at room temperature or warm for a few seconds in the microwave.
Can I Use Crunchy Peanut Butter?
Absolutely! Using crunchy peanut butter will give your cookie cups a bit more texture and a delightful nutty crunch in each bite. Keep in mind that crunchy peanut butter can make the dough slightly thicker, so be sure to press the cookie balls firmly into the mini muffin pan before baking. The cookies may be just a touch firmer than when made with creamy peanut butter, but they’ll still be soft, chewy, and delicious with that extra crunch everyone loves.
Why did my cookie cups stick to the pan?
Lightly grease the mini muffin pan and cool the cookies for at least 30 minutes. Use a small spoon or spatula to gently lift each cookie.
Can I use natural peanut butter?
For best results, use traditional creamy peanut butter. Natural peanut butter can make the dough too oily and affect the cookie texture.
These Peanut Butter Cookie Cups are simple, irresistible, and a surefire way to make any day a little sweeter. Perfect for family baking, holiday trays, or just a cozy treat in the farmhouse kitchen. Once you try them, they’ll quickly become a favorite in your home too.


My family loved this!